Salesforce Integration
Export your Docubee workflow documents directly to Salesforce : here’s how it works!
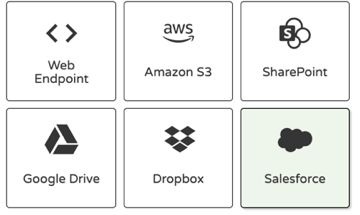
Salesforce is a web-based customer relationship management (CRM) platform. Docubee's Salesforce integration allows you to send documents from a Docubee workflow directly to Salesforce.
Let’s set up the integration.
Before You Begin
There are a few things you’ll need to get started:
- A Docubee account – you can go to https://docubee.app/signup to create a free account.
- Admin Access to Salesforce – If you are not an administrator of your Salesforce don’t worry. You can send the administrator instructions to your salesforce administrator and they can provide you with the information that you need for Docubee.
- Access to Salesforce – you’ll log in to your Salesforce account through Docubee, so make sure to have your Salesforce account credentials ready.
Set Up the Salesforce App
We have in-depth instructions for your salesforce administrator at Salesforce Setup Instructions.
Create the Workflow
- Log into your Docubee account at https://docubee.app and create a new workflow.
- Edit the workflow in the workflow builder, give it a name, and add the following tasks:
- Add a Web Form task
- Add an Export Document task
- Connect to Salesforce
- Publish
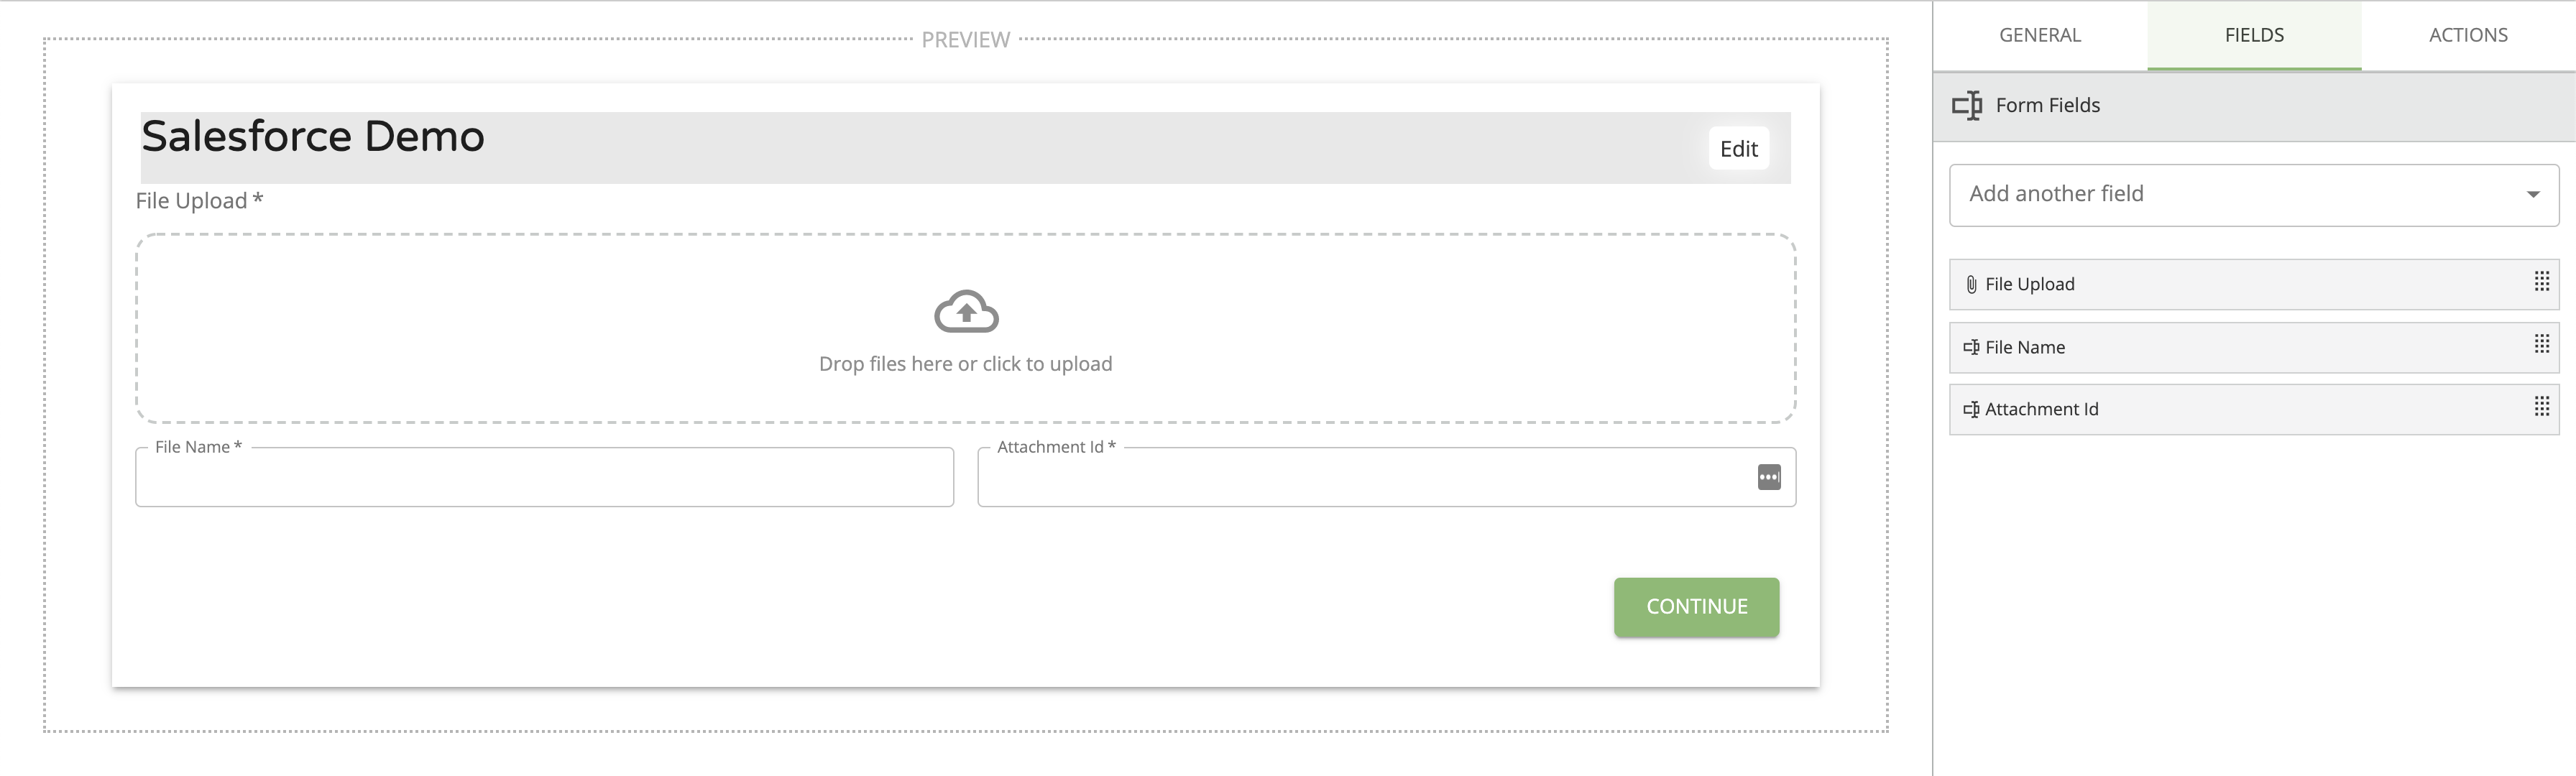
1 - Add a Web Form Task
The first task in the workflow is a web form. You’ll need to create three tasks within this webform:
- File upload
- Create a file upload field and give it a property name of Test_Upload.
- You can leave the rest of the options as their default setting.
- Single-line text
- Create a Single-Line Text field and give it a property name of File_Name.
- This is where the user will enter the document’s file name that will be displayed in your Drive.
- Single-line text Create a Single-Line Text field and give it a property name of Attachment_Id.
- This is where the user will enter the Id of the Salesforce entity that the document will be attached to.

2. Add an Export Document Task
For the second task, choose a document to export.
- Select the document from the previous web form, File_Upload.
- You’ll set up the destination setting in this task in the next section of this article.
Your workflow should look like this in the workflow builder:
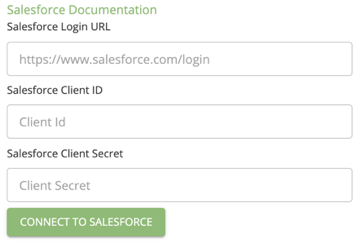
3. Connect to Salesforce
- In the export document task inside the destination section, click on Salesforce.
- Then, enter the information obtained from the Salesforce app setup and click the Connect to Salesforce button, which will open the modal and prompt you for your Salesforce account credentials.
- After entering your username and password, you’ll be prompted to accept permissions that Docubee is requesting. If you agree and wish to continue, click Accept.
- Now that your Salesforce account is configured, let’s choose where to send your document.
- In order to attach your document to the correct location within Salesforce, you will need to set the attachment Id field to the attachment_id variable.
- Be sure to fill out the rest of the fields. If you added a field for File_Name in step 1, you can click on the File Name field and select it.
4. Publish
You are finally ready to publish your workflow.
- Click the green Publish button in the top right corner of the workflow builder.
Next Steps
Now that your workflow task is complete, you can run your workflow, upload a document, and then send it to Salesforce.
When you log in to Salesforce, you should see your document in the location that you configured in the export document task.
In this example, you used an upload field in a web form to provide a document, however, you can send documents to Salesforce from other Docubee actions as well, including:
Related Information
All About Workflows (Quick Reference)
Types of Tasks (Workflows)
Salesforce Setup Instructions
Use Docubee eSignature for Salesforce AppExchange
Export workflow documents to:
Need more help getting set up? Contact us for assistance from our customer support team or register for Office Hours.