Notes: Docubee templates have pre-configured roles and fields making it easy to send the document to participants for signature. If you choose to:
- Send & Sign, you only need to enter an email address for each predefined role and the participants will receive an invitation to fill out and sign the document.
- Sign it Myself, the template will not have the pre-configured fields. You will have to add the required stamps yourself.
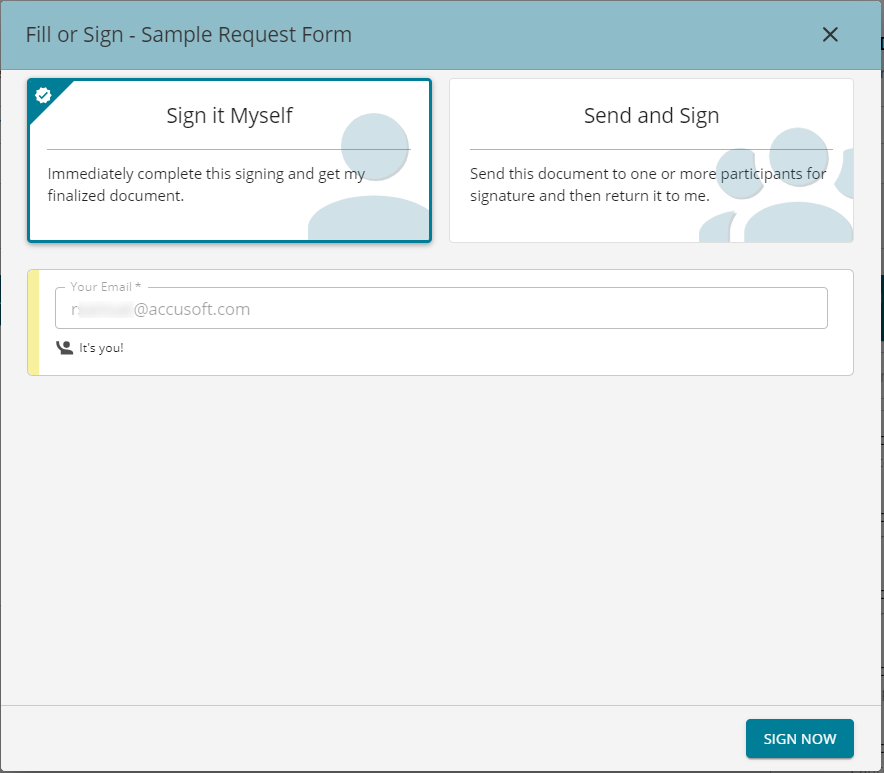
Note: Docubee templates have pre-configured roles and fields making it easy to send the document to participants for signature. You only need to enter an email address for each predefined role and the participants will receive an invitation to fill out and sign the document.
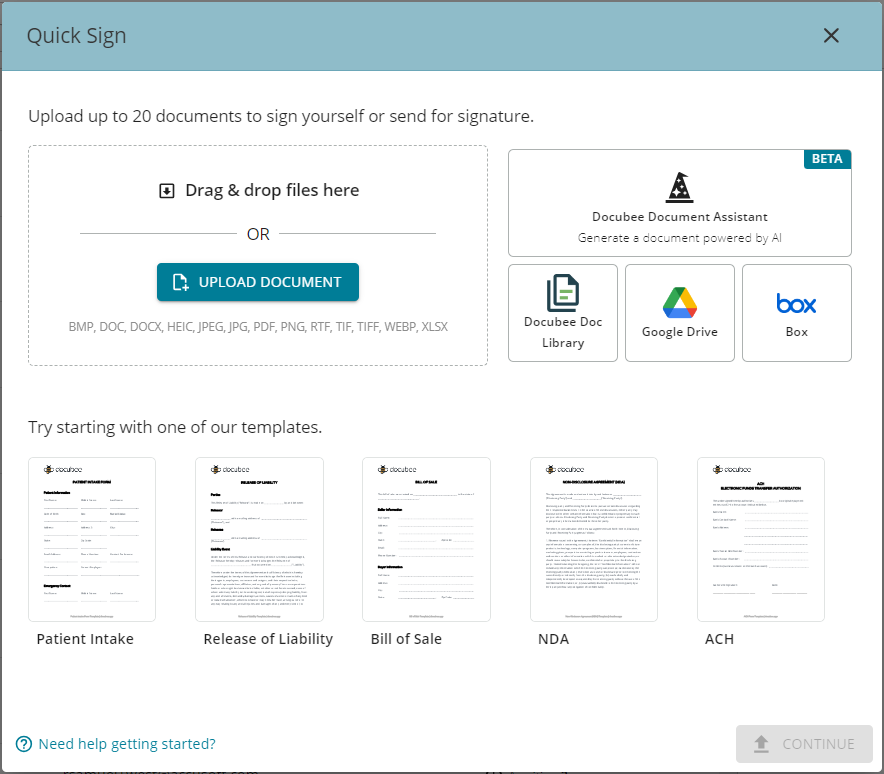 Note: For a tour of this modal, at lower-left corner click (?) Need help getting started?
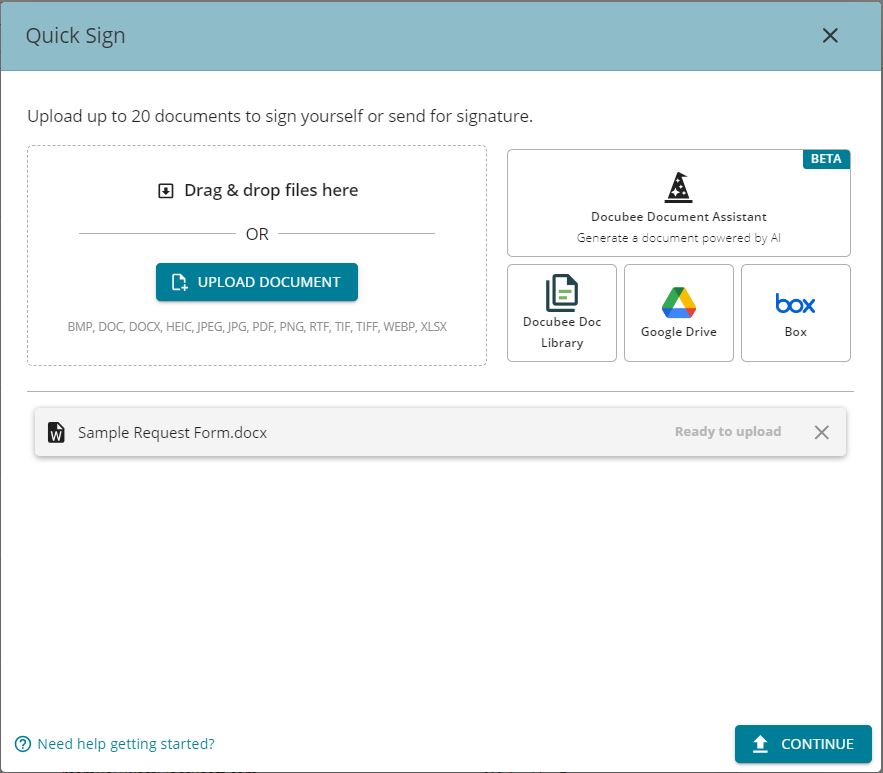
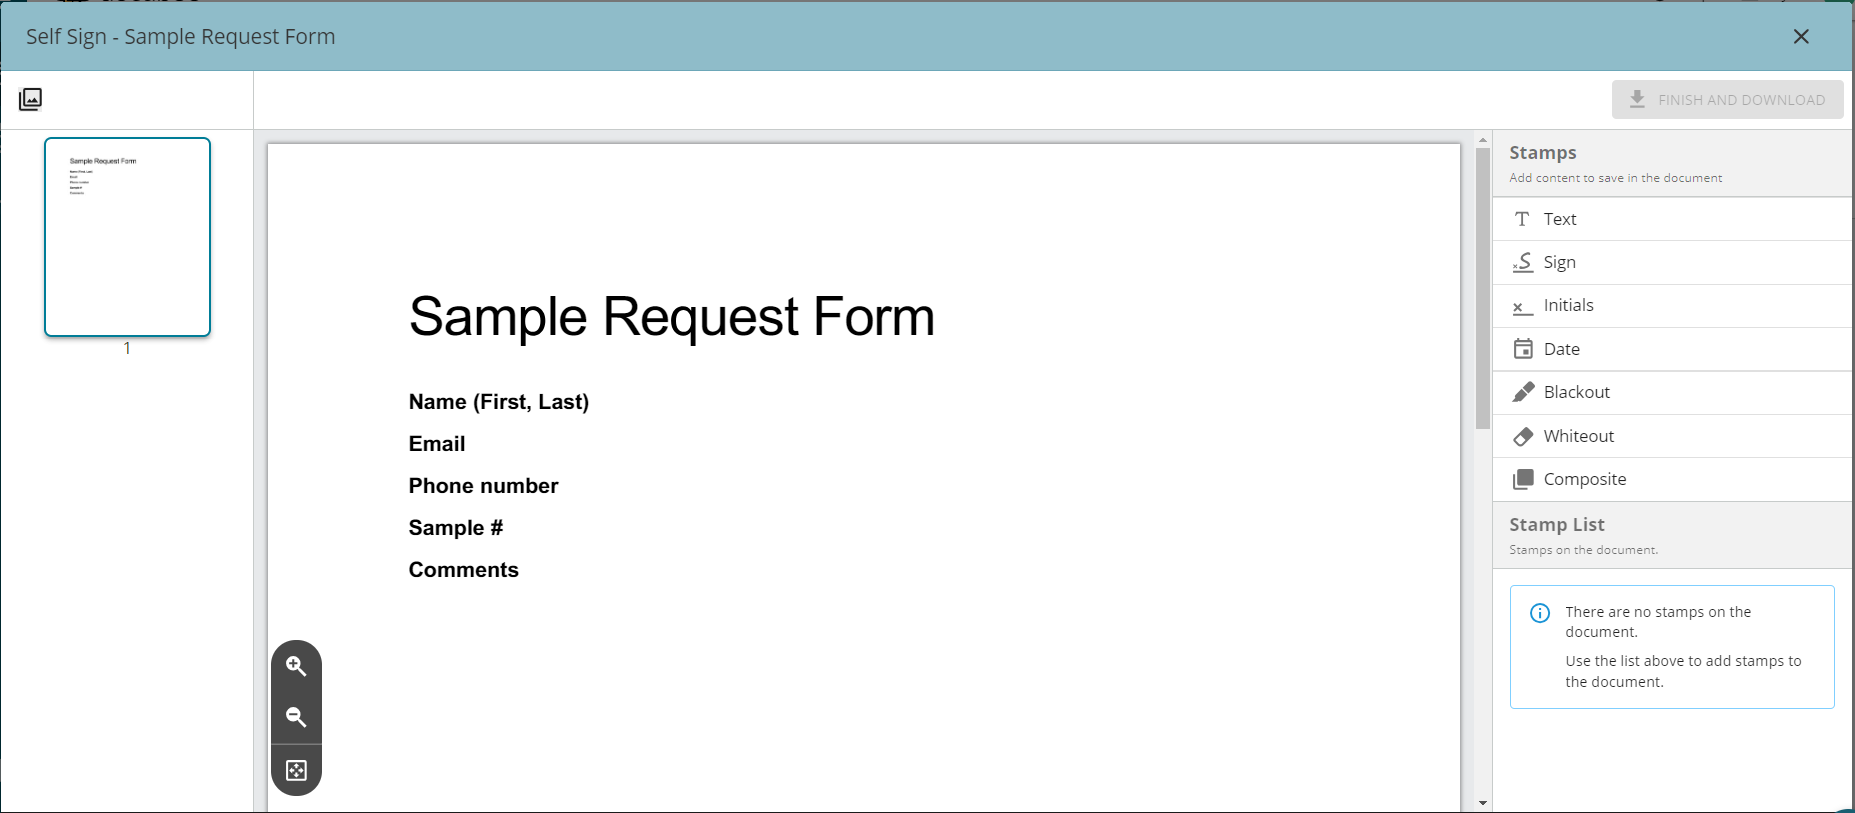 Stamps are available on the right. Use it to stamp your signature, date, custom text, etc. , directly onto the document. Click on the stamp and then click on the document to place it. You can adjust the position by clicking on it and dragging it.
Note: If you uploaded a pre-built Docubee template and chose to sign it yourself, it will not have any pre-configured fields. Use stamps to add fields.
Stamps are available on the right. Use it to stamp your signature, date, custom text, etc. , directly onto the document. Click on the stamp and then click on the document to place it. You can adjust the position by clicking on it and dragging it.
Note: If you uploaded a pre-built Docubee template and chose to sign it yourself, it will not have any pre-configured fields. Use stamps to add fields.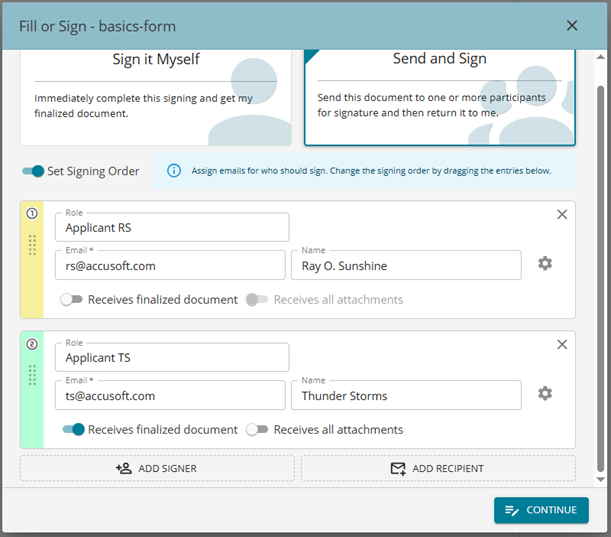 Note: When sending emails from Quick Sign or the Document Library, the signer's name will appear next to their email address, creating a more professional look and helping the recipient to easily identify the signer.
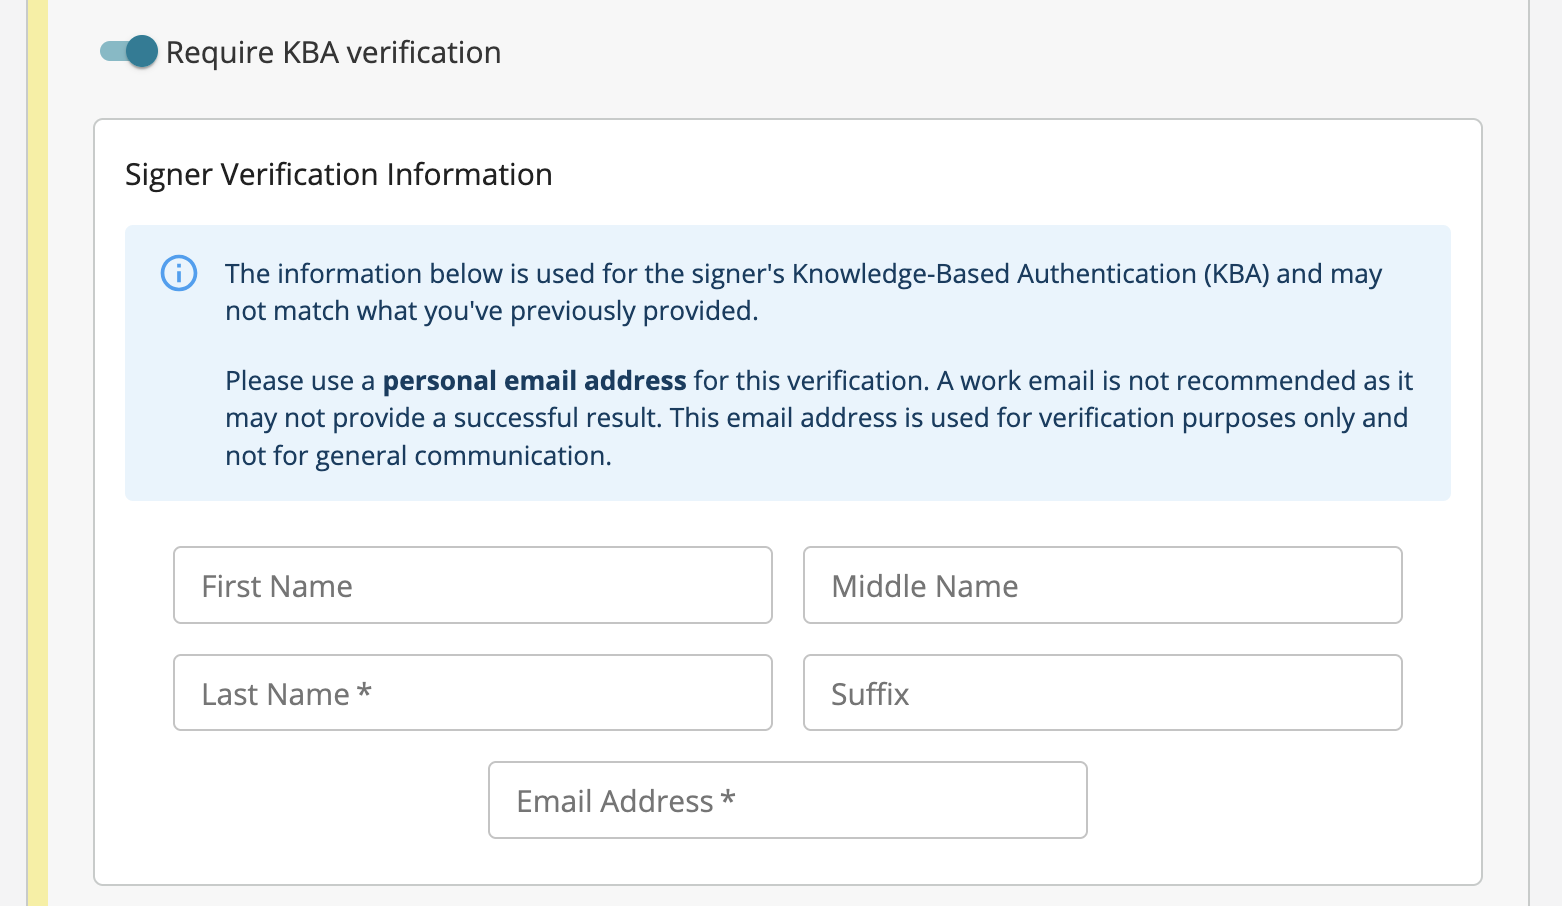
Note: These signer information boxes are color-coded for easy identification. When you turn on the Set Signing Order toggle the order number will be visible in the left color swatch.
Note: When sending emails from Quick Sign or the Document Library, the signer's name will appear next to their email address, creating a more professional look and helping the recipient to easily identify the signer.
Note: These signer information boxes are color-coded for easy identification. When you turn on the Set Signing Order toggle the order number will be visible in the left color swatch.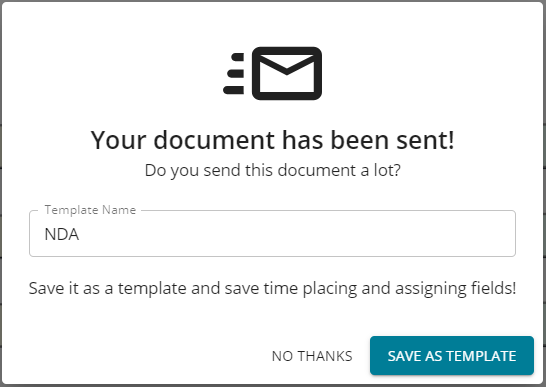 The template will be saved to your Docubee Document library.
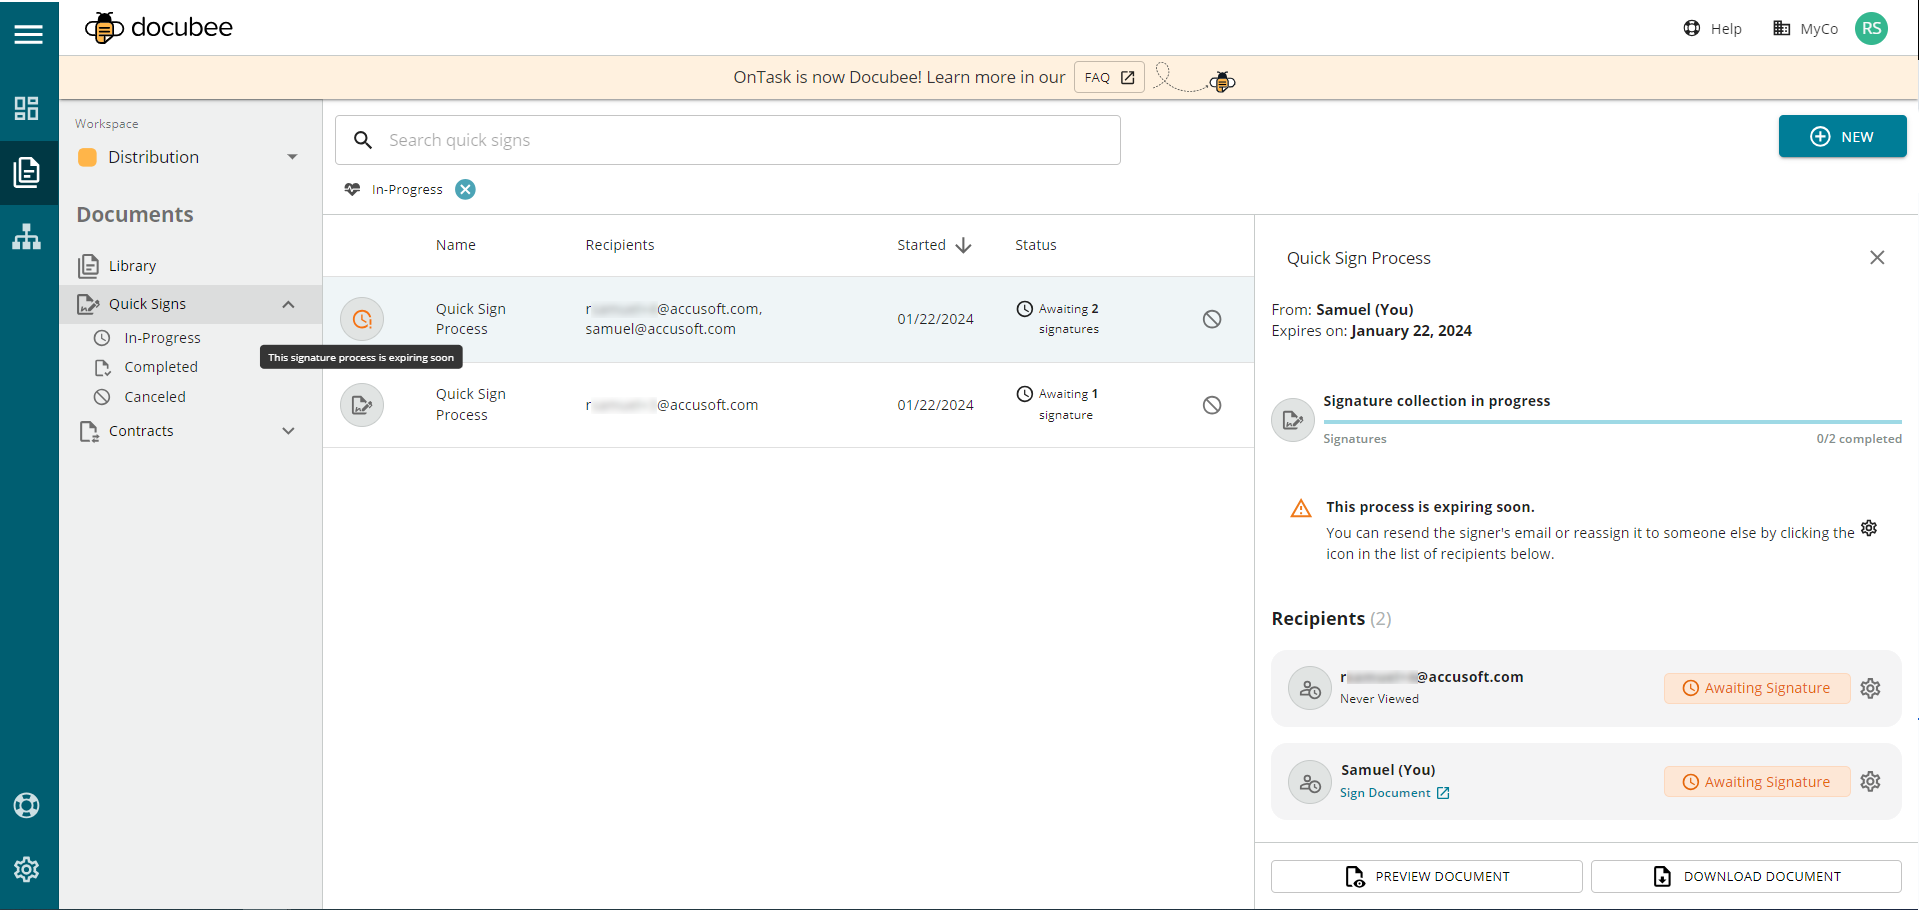
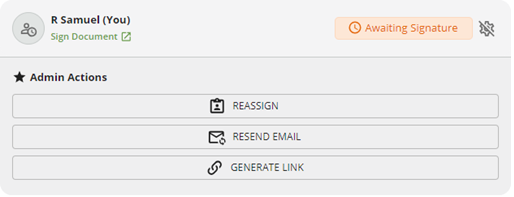 Reassign - Reassign this document to another recipient,
Resend Email - Resend the email for the current recipient, and/or
Generate Link - Generate a link and send it to a recipient if they are having trouble accessing their email. To generate a link:
Reassign - Reassign this document to another recipient,
Resend Email - Resend the email for the current recipient, and/or
Generate Link - Generate a link and send it to a recipient if they are having trouble accessing their email. To generate a link:
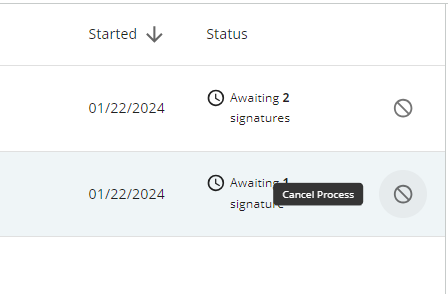
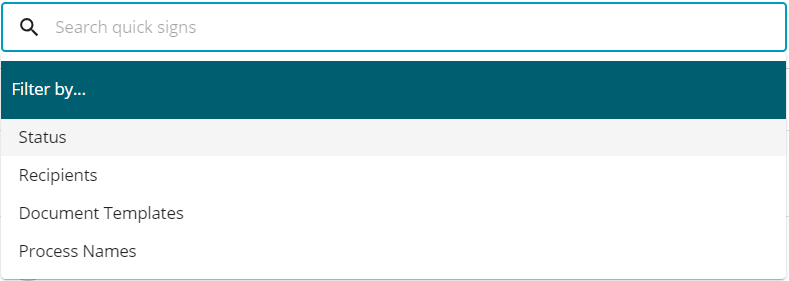 Example filter by status of ‘in-progress’ and document template for ‘sample-doc’: