


View our Pricing & Plans for a detailed list and comparison of features available in each plan.
Simplify sending multiple documents for signature by creating an envelope to bundle up to 20 existing document templates into a single packet!
Streamline your document signing process by bundling multiple documents into a single packet instead of sending them individually for signing. This method is particularly useful when sending onboarding, leasing, or sales agreements, which usually require more than one document to be signed.
Docubee’s envelope-like feature is equivalent to putting all your documents in an envelope and sending it for signature. With Quick Sign, choose up to 20 existing document templates from your Docubee document library to combine into one packet. This feature combines the documents, their previously placed fields and similarly named roles, and sends them together as a single packet. This capability to send a packet of documents is particularly useful whenever you need to send several documents to recipients.
Check out our supporting video!
Before You Begin
Prepare the document templates to use in the Quick Sign document packet with roles and fields already applied.
Send a Document Packet
When creating a document packet in Quick Sign, the individual documents you select are combined into a single document which will combine the fields placed in the documents and assign them to a single role, if they were named similarly.
For example, when sending new hire documents like an Offer Letter, I-9, and Direct Deposit Authorization form, they’ll likely have similar fields assigned to the same role like an HR representative, a candidate, and the hiring manager. Fields can represent spots to collect information, signature, or date.
- Log in to Docubee.
- In your Documents Library, review the document templates you want to include in the packet:
- Ensure they are completely set up with the necessary roles and fields.
- Verify they are correct and ready.
- Navigate to the dashboard and click Get a Document Signed.
- In the Quick Sign modal, click Docubee Doc Library.
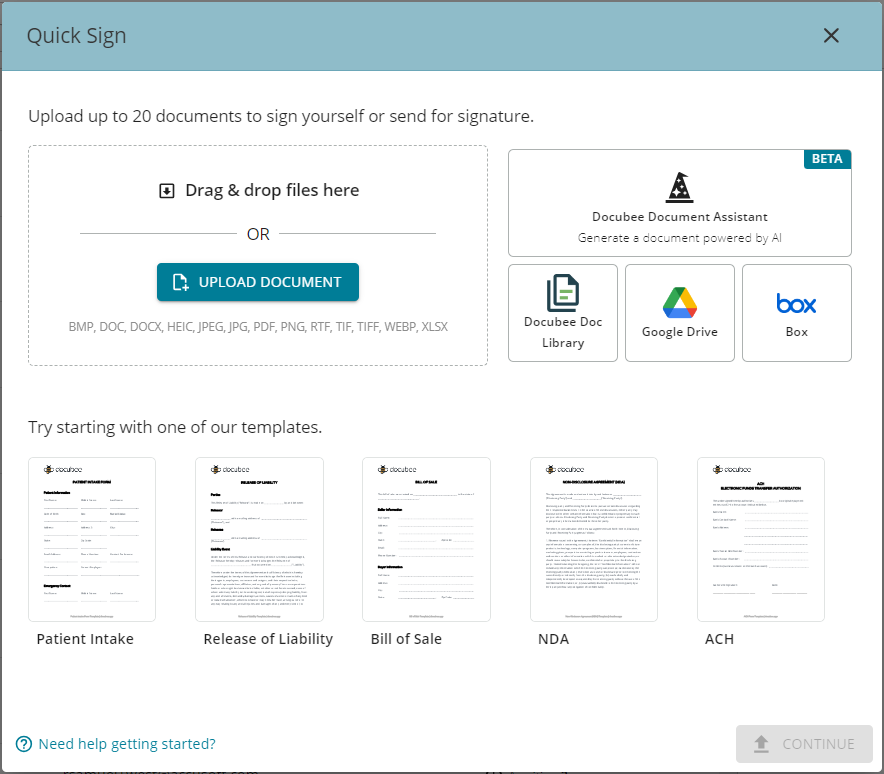
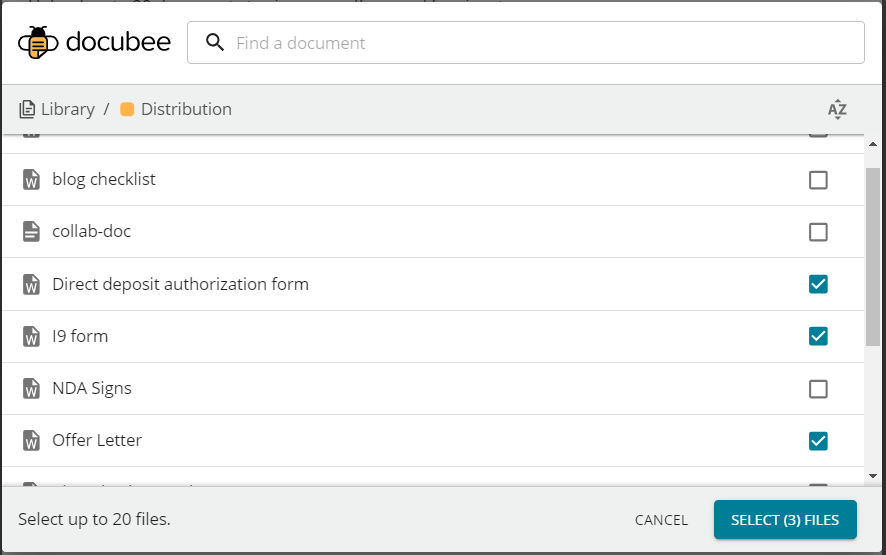
- Select the document templates from your workspace that you would like to use. For our example, we’ll use an HR packet to send to a new hire.

- Click Select Files.
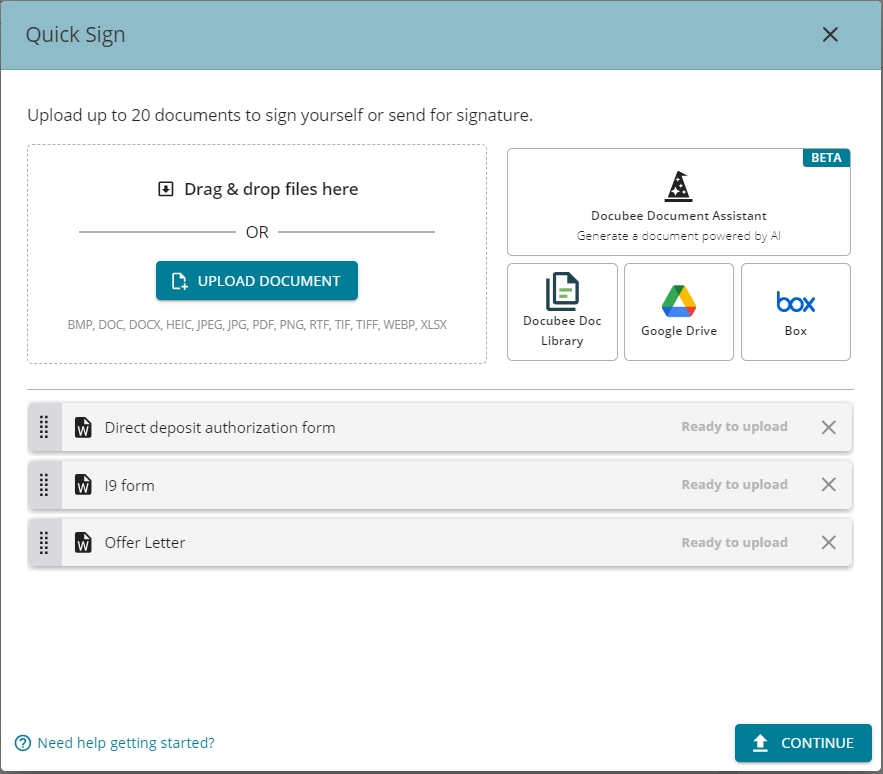
- Your document templates will be uploaded in the order you select them, which is also the order in which they will appear to the signers. You can rearrange their order by dragging and dropping.
- Click Continue.
Note: On uploading the documents, the roles for your documents will be combined automatically based on their name.
- Click Continue.
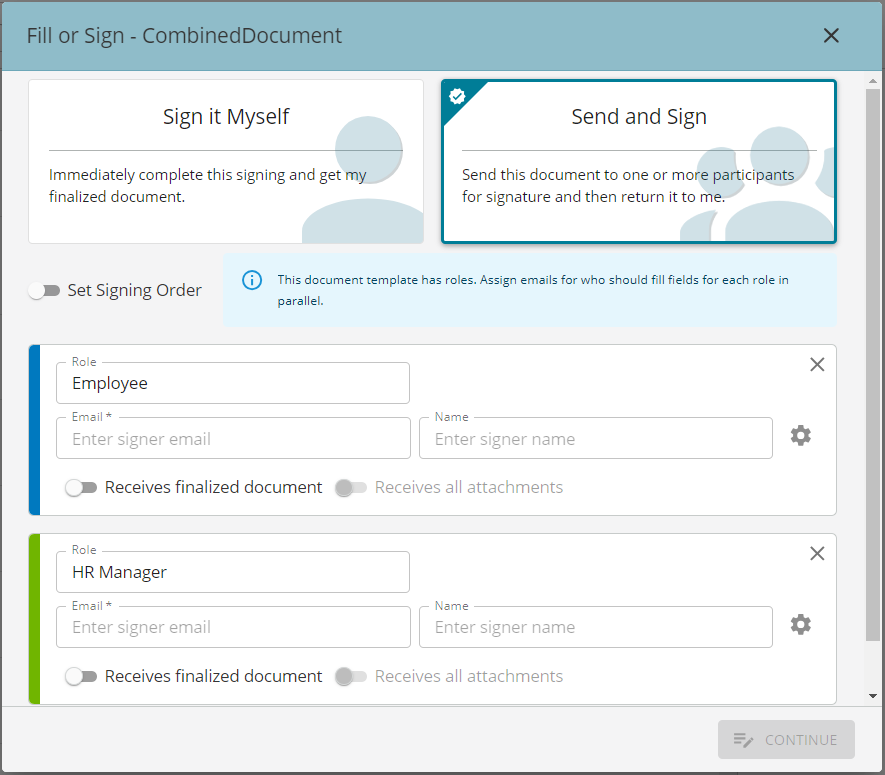
- In the Fill or Sign – Combined Document modal, enter the email address and name of each role’s recipient.
- Add any additional settings that you need to your packet like a set signing order, which recipients will receive final copies.
- Use the Advanced Settings (gear icon) to set additional actions, additional security like password protection, or customize the notification email. See Quick Sign | About Signers for more information on Advanced Settings.
- Click Continue. All your document templates will be combined into a single document packet. All assigned fields are carried over into this new document.
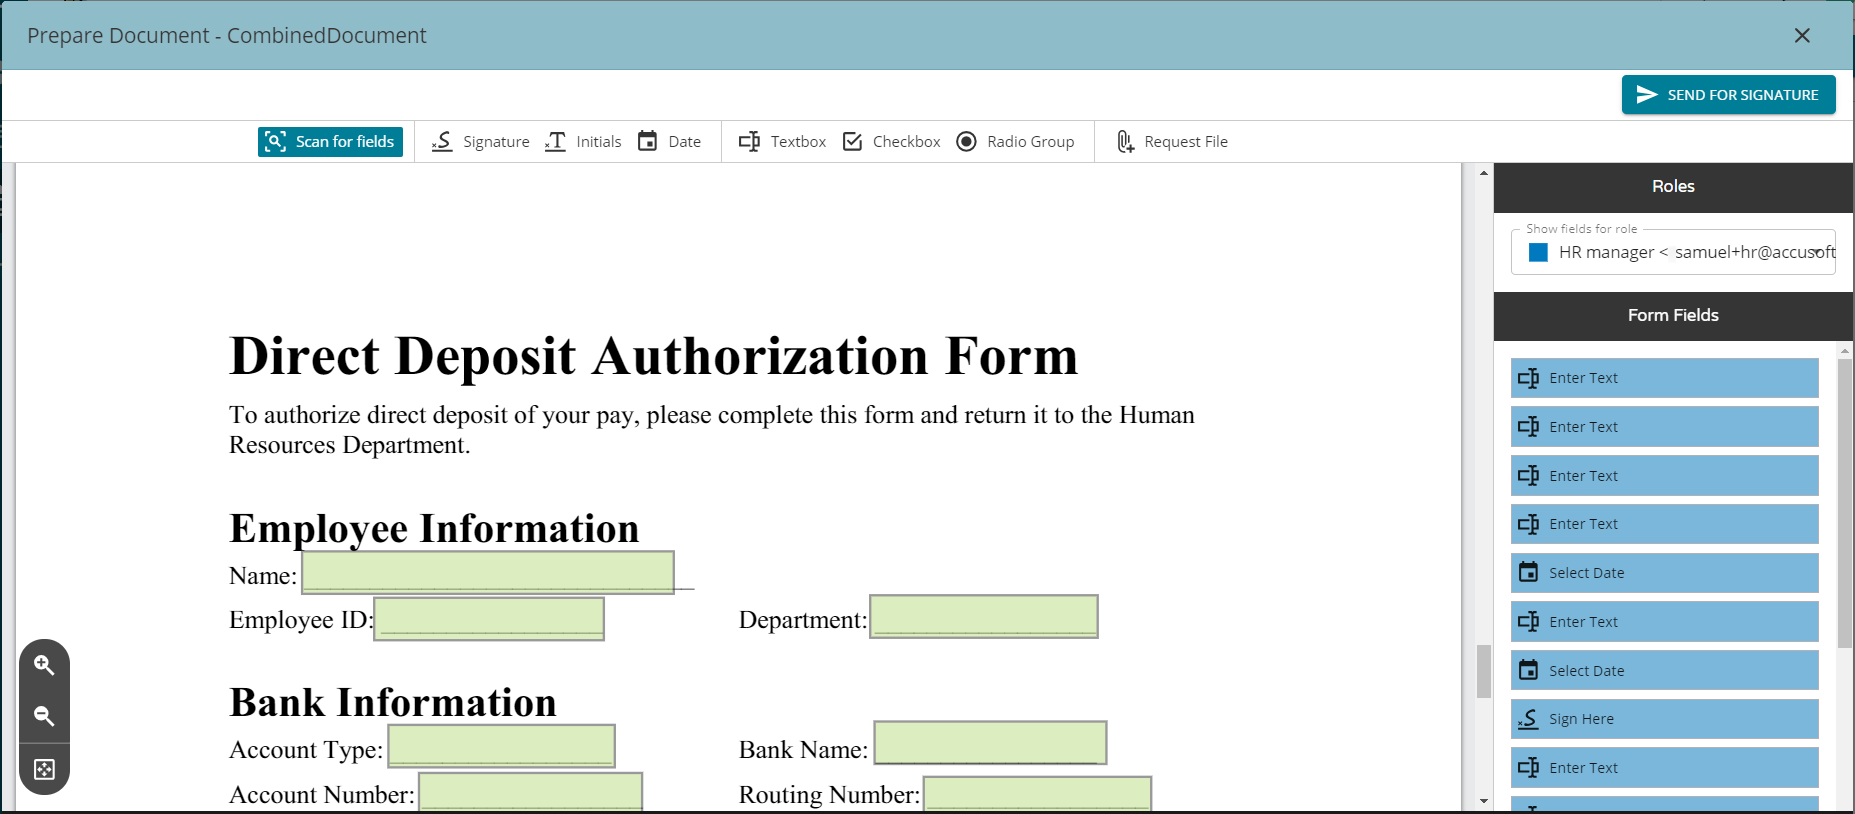
- In the Prepare Document – Combined Document modal, review the fields and roles. Make necessary modifications, if required.
- Now you’re ready to send. Click Send for Signature.
- In the Finalize Document modal, make necessary general and expiration settings.
- Click Send Now. Your document will be prepared and sent for signature.
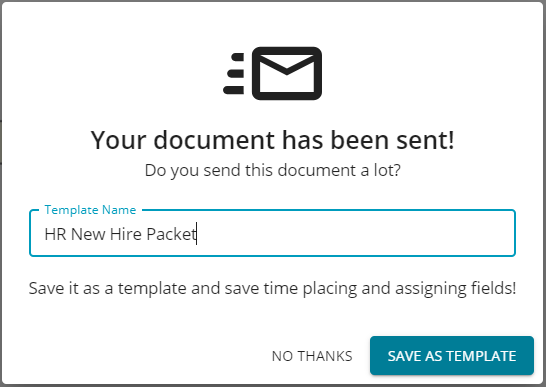
- If you frequently use this bundle of documents and would like it as a template for reuse:
- Enter a Template Name.
- Click Save as Template.
Known Limitations
- You can only send up to 20 templates as a document packet.
- When creating a document packet you can only select documents from a single source (i.e., only Document Library, or Google Drive, or Box).
Related Information
Send Document Packets for Signature Using Docubee (Video)
Edit Template
Glossary (See definition of “document template”)
Additional Resources
Need more help getting set up? Contact us for assistance from our customer support team or register for Office Hours.