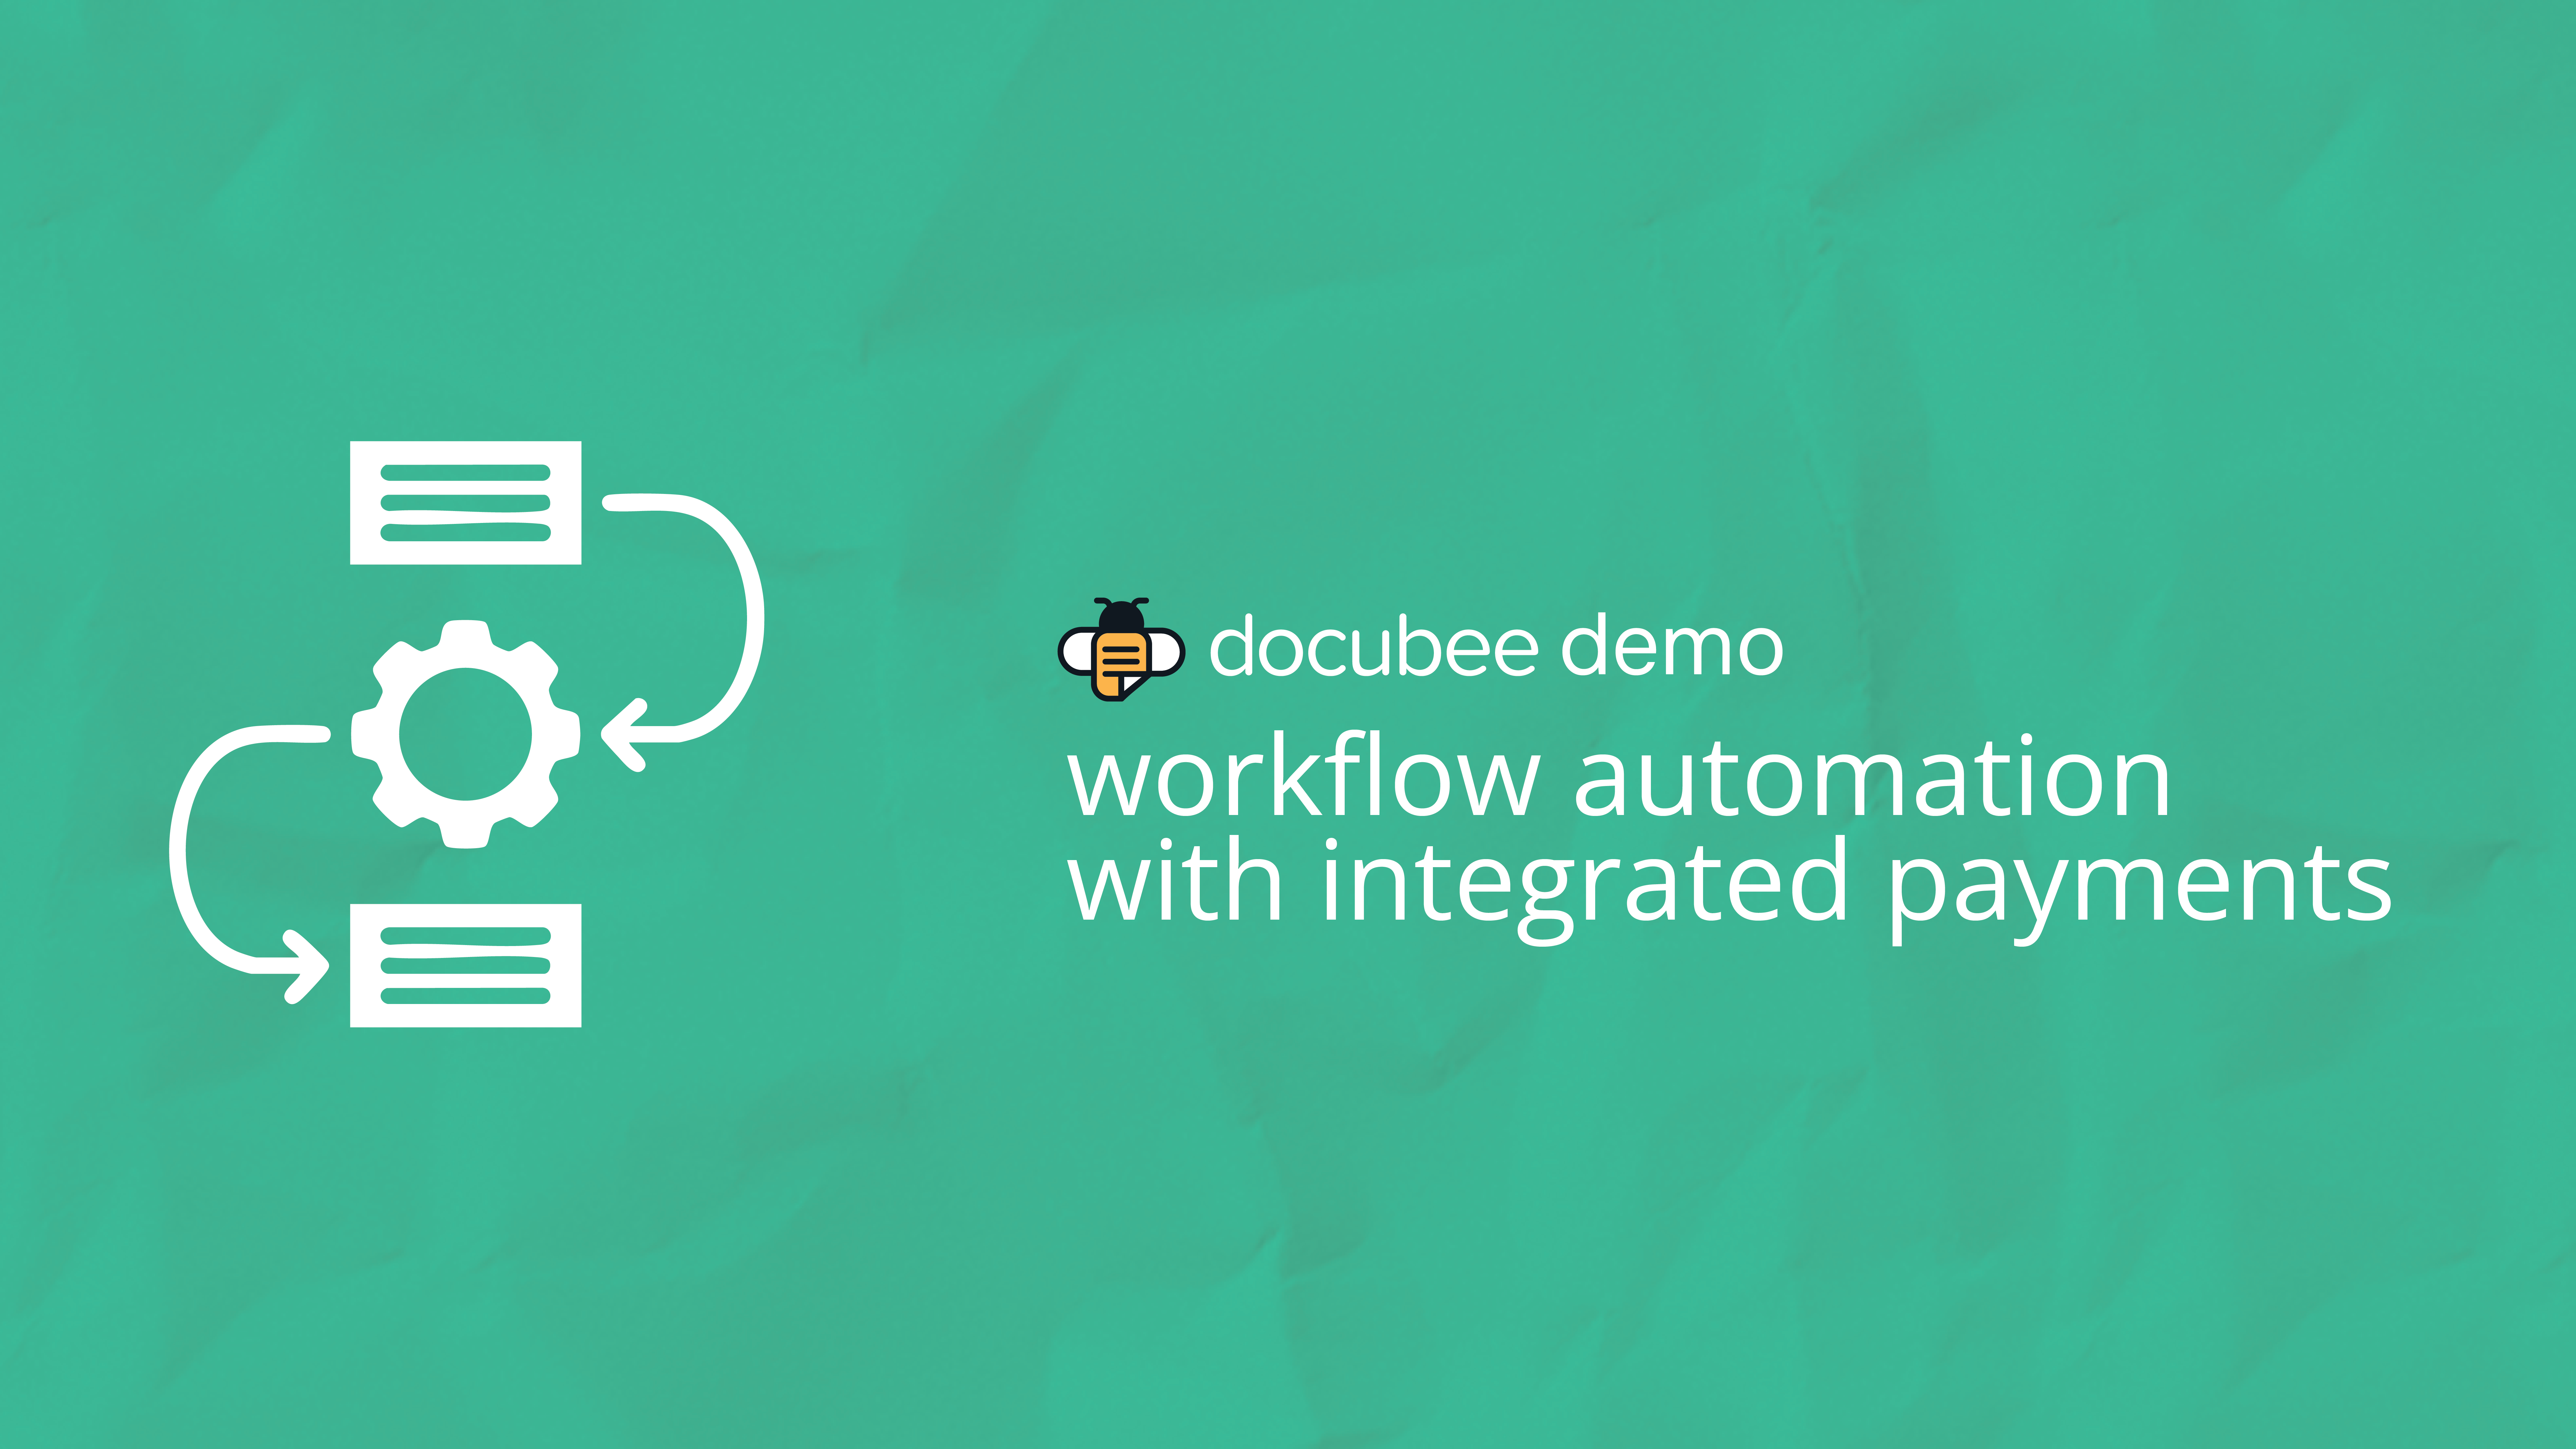
Contract automation is straightforward with a tool like Docubee. This demo shows how to set up, edit, collaborate, negotiate, and get signatures on contracts using our contract management tools.
Video Transcript
Let’s look at how easy it is to automate contracts using Docubee.
From the left-hand navigation menu, we’re going to go to the document section as shown here.
The display of the document section defaults to show your library, which houses any templates that you may have created previously.
Right beneath that you can see the quick signs and contracts sections. To get started, click on contracts.
Here you can see a list of all the different stages a contract might be in and use a filter to see the progress of each one.
Since we have no contracts in here yet, Docubee is prompting us to create a new one right in the middle of our screen.
Ideally, if you have contracts already living here, you can use the right top button, shown as a plus with the word new, and we’re able to create one from there. So we’re going to go ahead and create a new contract.
The first thing we need to do is name this process.
Docubee will automatically ask us to start with a blank document. If you want to toggle this option off, you can pull one from your machine.
There are tons of options to get started. You can have Docubee’s AI generate a document for you or you can pull from the template library that we just showed you, Google Drive or Dropbox.
I’m going to pull one of the templates I have created from my library and go ahead and create this now.
Being the creator and the owner of this contract, when it loads up in our word-like editor, you’ll see that I’m the one who’s in control of editing this right off the bat. So I’ll go ahead and make some changes here.
Once you’re done editing or creating your contract, you can move on to these other phases.
We have a collaborate phase, which lets you get edits and feedback from internal participants within your organization. We have a negotiate phase, which allows outside individuals to come and collaborate on this contract with you.
And then we have our signing portion, which leverages our eSignatureAPI to send your document for signature. So we’ll go ahead and move to the collaborate phase and we’ll hit start.
You can see here I’m able to add to my team. This is pulling anybody from within your organization that’s part of the workspace you created this in.
I’m going to grab one individual and hit the add button. You can see they automatically have viewing privileges that you can toggle on and allow them to suggest edits or even edit the document outright.
You can also always remove a participant by clicking the trashcan icon. For this example, we’ll add our participants to make suggestions and hit save.
Now once that is saved, Docubee will generate an email that is sent to that participant. We can see here that I do have an email notification.
From this email, we’re able to just click on view document to start interacting. I’m going to open up an incognito window to make sure we can see the collaboration piece.
Here is the document owner’s screen. This incognito tab is the participant I just added, and as you can see, it’s loading up in our word-like editor.
As the document creator, I can see them join the document. This little icon shows who’s actually participating in this document in real time.
Once the person who was invited starts making suggestions and edits, you’ll be able to see this live interaction on my screen as the creator.
Here we go, you can see them making suggestions.
They can type words in here as suggestions, and I see them live on my screen. They’re also able to highlight some things and add comments by right-clicking, and we’ll see these all live popping up on my screen.
So again, from the creator screen, I’m in control of accepting or rejecting these suggestions. I’m going to go ahead and reject these. I’m going to resolve this comment. And now that our contract is ready to go, we can either move on to the negotiate phase where we pull in outside participants or we can move directly into signature.
For this demonstration, I’m going to show the negotiate phase. So we’re going to continue to negotiate here.
We can see here we have presented with that screen that we’re familiar with where we added our team members. Now we’re allowed to add receiving teams.
This represents the person that you’re going to invite such as your client to come in and collaborate on this contract with you.
So I’ll go ahead and enter a client email. I’ll hit add, and one thing to note is they’re able to view, we can have them make suggestions, but there is no edit capability for the receiving team.
They will not be able to edit your contract. Again, you can remove them by hitting the trash can icon that removes the participant.
Now, we’ve added someone from our receiving team. We’re going to hit save.
And again, this is going to send out an email to that individual allowing them to interact with this document. As we see it’s refreshed, and we have an email to our client that we’re going to open again in an incognito window here so I can show you both participants.
One thing to note is that the outside individual that you added does not need to have a Docubee login. That link is specific to them.
So as this document loads for our outside party, you’ll again see me on the creator screen. I’m able to toggle over this bubble and see who’s interacting with the document.
Again, they’re able to make suggestions and this will show up live on my screen or they’re able to leave comments as well.
As the creator and controller of this document, I have to accept or reject these. I’m going to go ahead and accept this one to delete this paragraph. Upon acceptance, we see it removes itself.
I’m also going to resolve this comment. Now that all items have been resolved or accepted, our negotiation phase is complete and we’re going to move on to the signing phase.
Once we hit start here, you’re going to notice Docubee pops up and says, “Hey, you’re moving on to a signing stage and there’s no going back.”
Once we hit continue to signing, I want to show you what it looks like from the outside perspective. The person who was just working on this document with me is no longer able to make edits once I move on to the signing phase. As the controller or owner of this contract, I’m able to easily choose signers based on who just participated in collaboration or negotiation.
I can designate if I want them to sign or receive a final copy once this is completed.
We can easily toggle any of these buttons for whoever needs to sign and receive a final copy.
Again, you can remove participants at this stage. Once we save all this, our document will be here ready for signing, and it can be triggered whenever you’re ready.
When you’re ready to send the document out for signature, you will click the approve and sign button. Docubee will leverage the eSignature API mentioned, and this is going to pull up a module.
We’re able to add some additional features for our signers.
Here you can see Docubee automatically pulled in the client, the one I checked saying that they need to sign, and it already toggles that they received a finalized copy because we checked that earlier,
Now we can hit this gear icon and dive into additional actions allowing this person to maybe decline or to delegate to someone else.
There’s some additional security you can set like SMS two-factor or even requiring a password before they’re able to interact with this document.
And you can even customize the email going out to this individual. As you can see, I’m the owner and Docubee already has me checked as receiving a finalized copy of this document.
Once we have these settings configured, we’re able to hit continue.
The document will load in our viewer, and this is where we’re going to place the signature date fields, checkboxes, and any of the fields that you’d like these individuals to interact with.
As you can see at the top right under roles, I have the client role selected. I’m going to drop my signature box right here for that role to sign.
These can all be resized as you’d like. Additionally, on the right-hand side, we have some more settings like checking if something’s required or even if you want to show it conditionally.
So we have our signature box. I’m also going to add a date box for this individual and we’re going to toggle to pre-fill when this is acted upon.
So when this document’s opened by that individual, it’ll automatically put the date there for them.
Now that we have our document all set up with our roles and fields, I’m going to go ahead and hit send for signature. This will prompt us to adjust additional settings before sending, where we can name this process or we can set an expiration of when this contract will expire.
So if we want to set it for a month after one month on March 6th, this contract will automatically expire and the links that were associated with it will no longer work.
Now we’re ready to send this out.
Docubee is going to prepare our document with all the fields that we have placed, and it’s send out an email to the individual that we have selected.
As you can see, Docubee defaults you back to the contract dashboard and we’re able to see the progress of this individual contract.
We can tell that the clients never reviewed it, we’re able to preview the document or even download it right away from here.
Let’s check our email. We can see here the client has received an email now and they’re able to review the document. So we’ll open this up.
As it opens up, you’ll see that the fields that you placed are the only ones they’re able to interact with. Our date was pre-populated for today, and they’re able to click and sign the document.
Now, once all the required fields are met, you see it’s zero. We have a green bar and we’re able to actually submit this document. Now Docubee is burning those signatures and anything that was done on the document into the finalized PDF.
The document has been signed, sealed, and delivered.
And if we go back to our email, we should news have an email saying we got a final copy.
As the creator, I have a copy and the client should have one as well.
Let’s go ahead and download this signed copy. Once this opens up, we’re going to show you exactly what this document looks like.
As you can see, the signature and all of the info is here and I’m not able to interact with it. It’s burned into that document.
If we scroll to the end of the document, you’ll see our digital certification. This shows the IP address, the date, time, reference numbers, and anything that you might need for a digital certification of a document to ensure it is legally binding.
Once we move back to our contract dashboard, in the signed column we should be able to see that this document is now under the signed portion.
If we hit view signing information, we can see that it was collected and the date it was signed on, and we’re able to preview that same document directly within Docubee.
Ready to automate your contracts? Go to docubee.com/request-demo