We dove into all of the basics of Docubee like how to collect binding eSignatures, data through forms, documents, and contracts using automated workflows. And, we answered audience questions.
Get up to speed by watching the Docubee 101 September recording below:
Ready to learn more? Sign up for a free trial or schedule a demo with one of our product experts today.
Webinar Transcript
Ariana Latour:
Hey everybody. Welcome to Docubee 1 0 1. In today’s webinar, we’re going to cover the basics of Docubee, who we are, what we do, and how we can help you solve your paperwork problems. Before we get started, let’s meet today’s team. I’m Ariana Latour. I’m a product marketing manager here at Docubee, and I’m going to be moderating today’s webinar. I’m joined by Michael Griffith, who is the manager of customer success in sales engineering. Michael is a master workflow builder here at Docubee and he’s going to be giving you your tour of the product today. We are going to leave some time open for q and a at the end of the webinar, but don’t hesitate to send in your questions while we go through the demo. You can send them in using the question or the chat panel on the right side of your screen. To get us started, we would like to know what brought you to Docubee 1 0 1 today. So I am going to launch a poll.
Are you interested in learning more about e-signatures forms and data collection document reviewing, editing and generation automating business processes like client intake or any combination? You can select any that apply and if you don’t see your reason for attending listed here, you can send it to me in the chat panel and I’ll make sure that someone follows up with you if we don’t cover it here today. Lemme give this a couple more seconds. All right, and it looks like most of you have voted, so I’m going to close this and share the results. All right, it looks like we have a lot of e-signature interests and forms and documents, so perfect. We are going to cover all of these today. Thank you guys so much for sharing that with me. And with that, I’m going to go ahead and pass things over to Michael, so if he can dive into Docubee.
Michael Griffith:
Hi everyone, my name is Michael Griffith. I’m the manager of customer success and sales engineering and I’m excited to introduce Docubee to you today. So Docubee is a no-code, E-signature forms and document automation platform that solves paperwork problems. We are a product of a accusoft that is our parent company and we’re drawing from over 30 years of experience within that document processing and automation technology realm. And we’re a company that cares about you and your growth. We do have transparent pricing, real human support in a highly rated customer service. So how does Docubee make work easier for you? First off, by mapping and automating your manual processes so you can stop chasing your paperwork and spend more time on the valuable things that you need to do. So instead of maybe sending manual reminders or requests for status updates and things like that, you can actually set automatic email reminders for assignees to complete their tasks.
And you can also see the status of any task or process inside of Docubee. So tasks are automatically delegated and routed to the appropriate person based on your workflow and conditional logic that’s built in. And data and files can be automatically routed to your systems and databases for storage. Also, Docubee takes compliance and security very seriously. The platform itself is SOC two, hipaa, ferpa, and C C P A compliant. So what that means is legally binding e-signatures, customizable data access with IP address capture and audit trails. We also added geolocation, tamper-proof documents and encryption at rest and in transit. Transit, excuse me. Most importantly, Docubee makes work easier because it reduces time, errors and money spent on administrative processes. So Docubee itself has a number of solutions that help different areas of your business run more smoothly. There’s a few examples I’m going to cover today of how many customers use our solution.
So we have some of our customers here listed on the screen for you. Rosen Law, they’re actually a divorce law firm located in Raleigh, North Carolina, and they use Docubee to collect legally binding e-signatures on their client documentation. New York Theater Workshop, they’re a not-for-profit theater company and New York City they use on test to collect forms that their attendees need to complete prior to the special events that they hold. And previously they actually used to use on test to collect proof of vaccination uploads when it was required by law in New York City during our covid period, San Juan College. They’re a public college in New Mexico and they’ve been using Docubee for a few years now and to automate their employee contract negotiation and signing processes for staff of over 500 employees. Now since they first came with us, they have since rolled out Docubee across a number of departments to automate a bunch of their different business processes.
Hubs sync. They are a SaaS platform that digitizes and automates tax processes to improve CPA’s productivity. So they integrate with our APIs or Docubee APIs into their actual application to allow users to send documents in bulk collecting, legally binding e-signatures, tracking where those documents are in the process and routing them to their storage. So now with that, what I’d like to do is actually jump into Docubee and kind of give you a tour and show you some things. So lemme back out of this slide here. So first off, when we log into Docubee, this is what you’re presented with. Mine does look a little bit different because you’re able to customize these colors here, but either way, this is the dashboard that you’re presented with when you log in. So give you a brief overview. You do have these three pieces right here. One being your organization details.
This is kind of showing is your account in good standing, how many professional service hours you hold with my team for building. You can see how many templates and workflows that you have straight from here. Also right there in the center here we have workspaces. These are what I like to describe as little groups or little workspaces. That’s how we label them. And you can set permissions based off all these. So if I have employees say within HR versus it, I can give them permissions to view only their specific workspaces and they won’t be able to see anybody else’s stuff. So here all my little workspaces that I’m a part of listed here. And then on the right we have our quick sign documents that have actually been sent out for signature. So you can see statuses of them, like this one’s still waiting for signature.
These have been all completed. These will just show what has been sent through the quick sign function and what their status is. Right off the bat, I do want to point out this left-hand bar right here. It will pop out. This is where we’re able to switch to a different organization. If you’re a part of more than one, we can also navigate back to our dashboard. We can go to our document section, which we’ll touch on a little bit later. Templates is where all of our workflows are housed within our workspaces forms is something that is a standalone forms that some of our customers use. Hubs Sync is one of the main people that utilize this. And then we have our template library. We also have a help button here that directs you to our support team. And then we all have admin panel for myself.
And then settings page, which is where we get into our organization settings where you’re able to add members, see your billing and manage your workspaces from here. So back to the dashboard, we also have your profile up here. So here in profile settings is where you can create your password, change your things, set up your two-factor or even save your signature and initials if you’d like to hold in your profile. One of the things I guess I’ll touch on, and I know Ariana said in her poll there was a lot of interest in e-signature and that’s kind of one of our flagship processes here on the main page that we’ve put here is called quick sign. And this is probably the easiest way, the way I like to describe it’s I have a document I needed to get signed. This is the best way of doing it.
Very quick, very easy and we’ll dive into that today. So first off, it’s super simple as get a document signed. We click on that, it opens up a page here where we’re able to upload a document straight from your machine. You can pull a document from our documents library, which I’ll show you later if you have something hosted in your Google Drive or Dropbox. You can also do, you can pull a document from here or we even have Docubee document assistant, which is actually using AI to generate a document for you. So we also have some templates you could use. But for this demonstration I’ll just upload one from my computer. Let’s do my normal W nine is what I use. So I’ve uploaded my document. Next it’s going to have me select which workspace I want to attach this to. Again, it’s is all set permission wise, it’s only going to show you the ones that you’re a part of.
So I will choose demos here for this demonstration and I’ll hit continue. And what you’ll notice here is that it’s going to take me to a page now where I’m able to set up the roles of who I need to send this to or who needs to sign it. There’s two different questions we ask. One, do I want to sign it myself? I don’t need to involve any other parties. I could hit sign now, it’ll take me to the document. I can put my signature on it for this demonstration. I’ll show you what it looks like to actually sending it out to different people. So you can see here we can add more signers, we can add up to six of them actually. So we’ll see here we have six different signers that we can add for this demo. I’ll just do two. One thing I want to point out when we have multiple signers here is that we can either set a signing order, meaning that it’s going to go to this first person first and once they sign it’s going to kick them over to the second person.
Or we can toggle this off and it actually sends it to them at the same time or in parallel. So they’re both going to get that email. They’re both going to be able to sign the document. It doesn’t matter who signs it first or last. And once the final document’s complete, they’ll come back to you. So for this demonstration, we’ll set the signing order. Now roles are something that you can set if you’d like. Say we want to say this is the manager, this is the employee, we can do that. The only thing we’re going to require from you is obviously the email. So I’m going to go ahead and put in an email here like I’m the manager and you can also use a name here and I’ll put my name here. This will kick in when we’re customizing email to them. If we choose to here, I’ll do one for the employee and we won’t put a name for ’em.
We can also toggle here. Do they receive a finalized copy of this document once it’s signed and do they receive any attachments if there is any that’s a part of this. You notice here that we have some advanced settings that you can click on. This allows us to toggle on some different features per user. So here we’ll say this person’s allowed to decline something, which will allow them to either, it’ll just cancel the process upon decline. If we toggle this on, we can allow the user to delegate to a different person. If I received this email and said, Hey, I don’t want to sign this, I’m going to delegate it to Ariana to sign for me, you can allow them to do that. We can also do additional security if we wanted to require them to enter a password before they actually sign the document or review the document, we can or we can require them to do their two-factor through a text.
So you can put in their mobile number here. For this demonstration, I’m going to do a password 1, 2, 3, 4. And just to note that this is some password that you would communicate to the person you’re sending this to outside of Docubee. This is not something Docubee is going to let them know their password. And then also down here at the bottom we can customize the email notification. So by default we have one that Docubee will send them, but you could say whatever you’d like here in the subject line. And we could also add our own custom body.
Oops, we’ll just do that so we can show that. And then here for the other one we’ll just leave everybody everything default for the second role. So once we’ve added our signers, we can also add additional recipients. So someone that’s not involved in the signing process, but we still want to get a completed copy sent to. So here I could add to accounting or something. Depending on the document, I could have it routed there when it’s completed, right? So for this process we’re going to have these two signers. We’re going to go ahead and hit continue. Now we’ve set up all our details and you’ll see we’re presented with the document that I uploaded. If you didn’t notice in the beginning, I apologize for not mentioning it. You are able to upload up to 20 documents in that quick sign, drop-in. So you can upload 20 different things.
What Docubee is going to do is combine them all into a nice packet for the user and that way you’re able to place your fields. So here we’re looking at the document and now it’s time for us to either scan for fields, which will actually kind of detect everything on this page, which will actually do that right now it does take a little minute depending on the page, or we could actually select different types of fields we can on here. So signature fields, initials, dates, text boxes, those types of things. And as you see here, this scan for fields detected 19 different fields on this document. And you’ll see it’s already placed these boxes for me, sized them correctly for me and even did the labeling for me. So I always suggest if I have a complicated document or a document with a lot of fields, I usually start with scanning it first and then I’ll go back and edit things I need to.
So say for instance, I don’t want these check boxes here, I can easily just remove them from the document. One thing we can also do is here you see some settings here per the box that you choose, you can make something required or unrequired, you can change the font. There’s a lot of different settings you can go through. But the main thing I want to point out is you see these are color coded, they’re all yellow. And you can see here by roles, this is assigned to our first signer or Michael. And then we can also toggle to the other employee to the other role which we labeled employee. And you see they have no fields right now. So what we’re going to do is we’re going to add some fields for them just for this demo, I’m going to throw it at the top of the page for easy visibility.
So we’re going to add them, this employee that they need to sign here, we’re also going to have them date. So on this date we are going to make this required and here we’re going to make the signature required. So now we have our field setup on our document. The manager is going to be able to only text and use these yellow fields and the employee’s only going to have access to these green fields that we have here. But once all of our documents are set up and the way we would like to present them, we can go and hit send for signature here we’re presented with some additional settings. One, we can name this process if it’s something we’re going to use over and over again. And then we also have an expiration. So say this is a contract and I want it to expire after 30 days.
If it’s not signed, we could set something like that or we could have it expire on a specific date. If it’s not signed or completed by that time for this, we’ll just leave it as never expire and we’ll go ahead and send our fields. So what it’s doing is preparing the document with these fields that we’ve placed on there. It’s going to start kicking out the email to everybody. And it’s also going to ask us if we’d like to save this as a template. So you see our document has been sent and do we send this a lot? If we do, we can name this and save it as a template, meaning the next time we need to send this document, we can just go click, click and hit send. It saves all the fields, it saves all the roles. Everything’s already set up for you to do that in the future so you don’t have to redo this all.
So now that we have this sent out, we can go to my document section and under quick sign you can see here this is the process that we sent out on the 20th. It’s a waiting one signature and we can tell that it’s waiting for the first person, the manager, and then they’ve never viewed it. So you can see kind of a status from here. I’ll pull up my email here, give me one second. Should have had this on the screen already and I should have received an email. And this is the one that we customized with our email body and you can see hello custom body, the subject is Hello world. And you see they have a review document button. So they’re able to click on this, which will open up on task in their browser in a new tab, whether that’s on their phone, tablet, or desktop.
And you can see we’re being requested to put in that password that we set up. So if I remember correctly, it was 1, 2, 3, 4. We wanted to keep it simple. We can hit access My document. You’ll see there’s our document, all the fields that we had placed for this first signer. So we’ll go ahead and sign and we’ll date here and maybe we’ll type some texts up here and check a box. So everything’s filled in from us, nothing else is required. We can go in and hit submit this document and we’ll get a nice thank you message that it’s signed, sealed, and delivered and that person would be able to close their browser. Now it kicked off to the second person or our employee and this is our generic email that it sends out. And again, they’re able to review that document, it’ll open up in its new tab.
And what you’ll see here is that the first signer, all their information is there that anything that they completed but the other person’s not able to edit it or change it. So this is a stagnant and they won’t be able to touch it. They are only allowed to touch the fields that we provided to them. So you see here their signature. And just to point out, this is something that you can type if you’d like to type like this and you have different fonts to choose from or we can draw our signature like this and insert that the date. It’s a nice little calendar picker. We’ll choose the date and we’ll submit our document. So now that is done. This is signed, sealed and delivered. And then everybody should get a completed copy here. So the person that started this gets a copy, the manager, the employee will get a copy as well as long as we toggle that on.
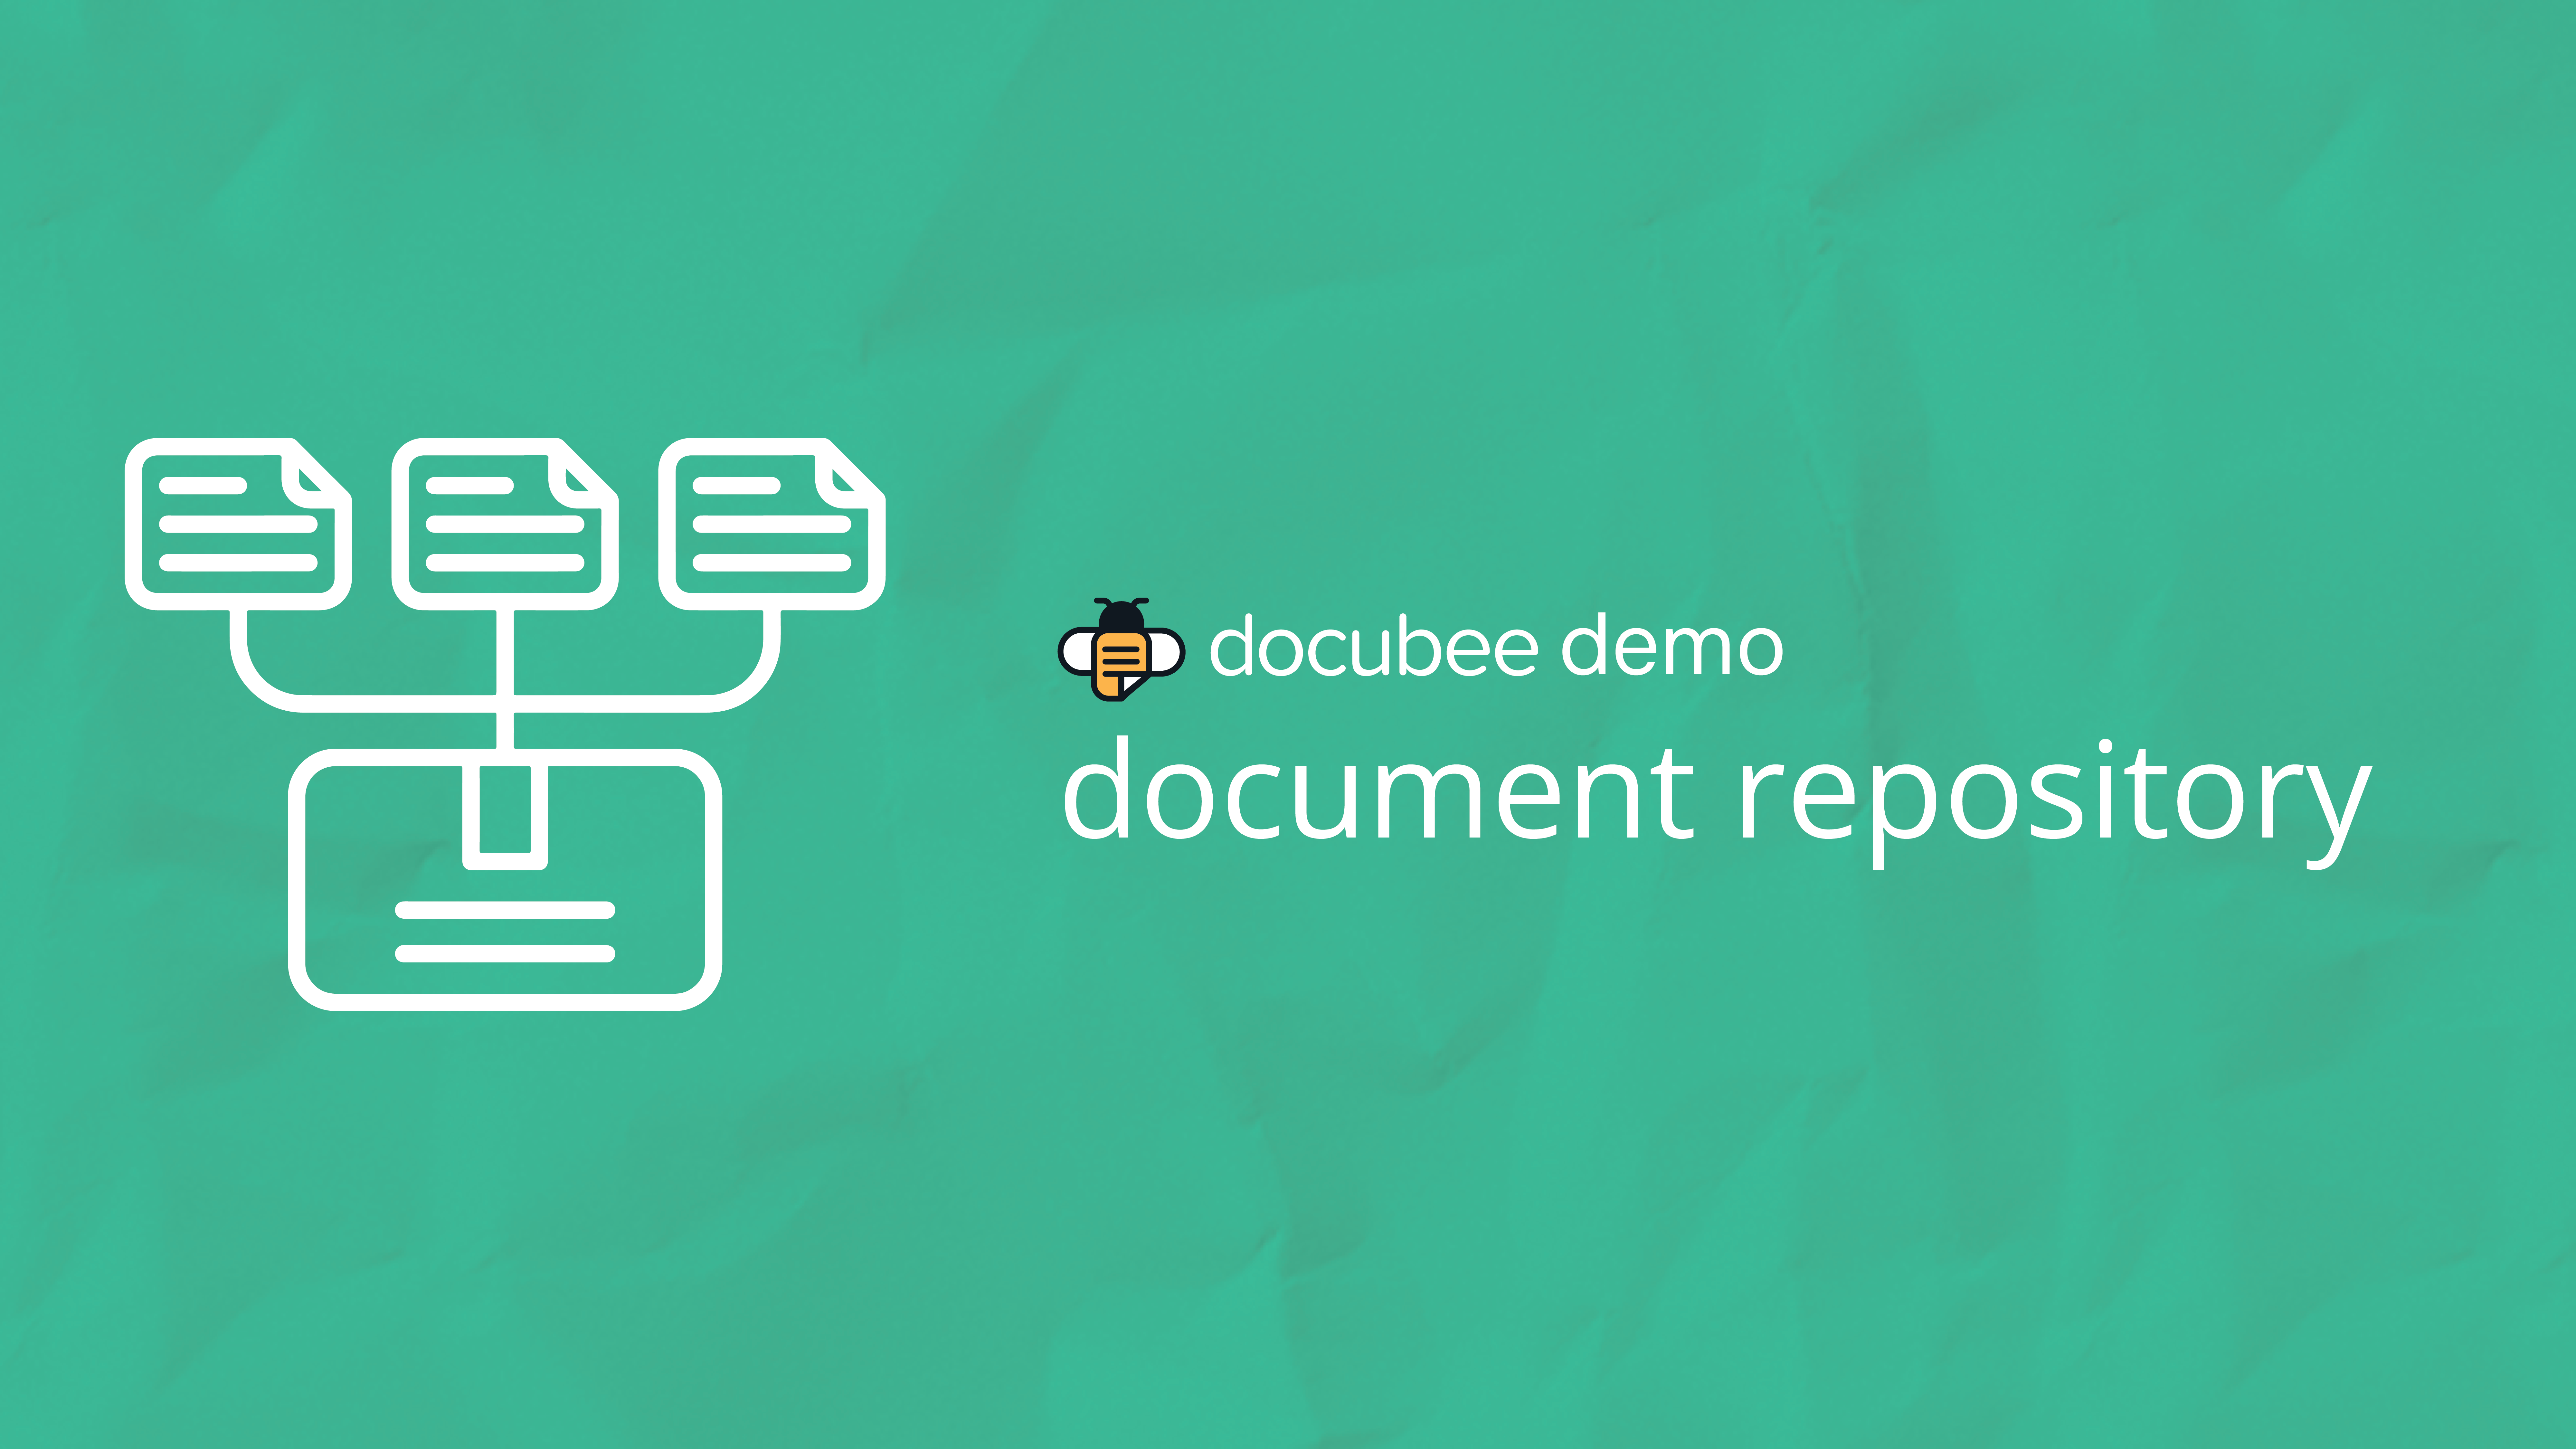
Then if we want to download that completed document, we can do so here. When we pull this up, the main thing I want to point out is that these are certified documents and you can see here that it tracks the IP addresses, dates, times, everything here. And this is a legally binding signature. So that in a nutshell, I know that was a little bit right there is our quick sign process and all the things you can do with it. So it’s very robust and to get you a lot through things. Next I want to get over to our documents section. Now this is our, I would call a repository of documents. So these are documents that I often probably would send or things along those lines that I use quite often. So simple as hitting new, adding a new document, we can upload that document just like we did earlier and we’ll upload this W nine again.
So we can upload a clean document. We have it here. What happens here is that it’s stored here and we can send it for signature right here. And this takes us right into that quick sign process that I just showed you. So it’s very simple to load a document in here and keep it here. This again is where you would keep a template of something you send. You can easily preview the file that we have here. You could download the file thing. But what I wanted to go is to these ellipses or more actions here. And you can see that we have these other things called manage roles and fields. We can stamp a document and we can also generate a signing link. So meaning that this only has one role, so we need to add another role for it to have a signing link.
But what that is is a link that you can post on your website or send in an email. Anybody that clicks on it, it’s going to be presented with that document and able to fill it out. Something I want to point out with a stamping is that you can actually redact things. So if we have white out, we can just remove that completely. We can black out something if we wanted to. And these are just like the fields on the signature part. We can drag and shape these how we want. We can actually burn some information here automatically. So if I wanted to put my name here permanently, I could do this. And when we want to make these changes permanent, we stamp that document and it burns all that stuff that we’ve made onto the document. So in a sort you can edit a document, you can manipulate it the way you would like before sending it for signature.
So that’s kind of what my document section’s kind of for. And also quick signs are here where we can track our progress. So anything that’s in progress, anything that’s completed, bear with my internet apparently. So anything that’s completed, this is the one we just sent today. We can see this and we can preview the document directly from here. So this is the document we just completed earlier during quick sign. So those two kind of worked in conjunction to each other. The last thing I want before we get into the workflow building is our template library. This is something that my team developed and I would highly encourage anybody that has access to go dig through these. We kind of have them organized by maybe what you’re looking for. So if you’re in human resources, these are workflows that we’ve built to help you guys and these are deployable right off the bat.
So say you wanted to do, let’s say a direct deposit form, we could hit use this template, it’s going to ask you which workspace you want to drop it into. I could hit deploy template and it should take me right to that workspace and this workflow is ready to start being used. So we have our direct deposit form right here and we’re able to start running it. So jumping into the builder, and this is something I actually wanted to demo for you guys today is our client intake process that we recently just did for a tax client of ours. And I’m pretty proud of how it worked out and how pleased they are as a customer. So I wanted to kind of show this to you guys today, but when we go into the builder here, when I hit that little pencil button, this is actually what the workflow looks like on the backend or kind of all the steps that take place in this automated process.
And you can see Docubee works from the top down almost like a river. It flows downstream. So this is where we’re starting our start form and then it will just go to the next task and the next task and it’ll flow down. Now you see here we do have some branching. This is kind of where we use these conditional logic. If something’s chosen, go down this route versus the other route so we can split into two different streams if we need to and we’ll work our way all the way down through the whole entire process until it’s complete. And that’s kind of where we have these, our dashboard or instance list here. Anything that’s running or in progress, someone could be in the middle of that long process. You would see them listed here as in progress. Now when they complete the workflow or when the process is done, they’ll dump over into this completed column.
And then we also have canceled if there’s anything you canceled. So just a brief introduction there. We do have a workflow builder series if you want to know more about building the workflows. But to show you what all those little steps I just showed you look like we’re actually going to run the workflow. So there’s multiple different ways to launch a workflow. Meaning I could be logged in, I could click on the workflow and I could hit run and this would start it off right away. We can also share something where we can have a link. This is what that tax individual’s doing, they’re hosting it on their website and any of their customers could go on their website, click on it and start filling out their tax information without having to come into the office. They also have a QR code inside their office.
So if someone’s there and there’s a weight, they can scan it and begin filling out their paperwork. We often do that with doctor’s offices and such as well, and they can start working on their paperwork while they’re sitting in the lobby. Another object is bulk running, meaning I could upload a file. This workflow, excuse me, is not set up for that, but we can where we can upload a file of say a list of a hundred employees, 500 employees and we could launch out this workflow to 500 different people at one time. So I won’t be able to demonstrate that today, but we’ll run this workflow here. And so first off, we’re presented with a nice pretty web form. The reason we use these is really to gather data that we can use later within the workflow. So remember this is a tax client intake.
You’ll see a lot of the information’s prefilled. I did that myself just to make the demonstration go faster for you guys. But normally the customer would be able to type something in here like this. They would be able to make selections on radio buttons. These meaning they can only choose one of these options and then they’ll be able to enter in any information here. And I want you to pay attention to the information here because we’re going to use this later to the benefit of the customer. So as they’re answering their questions here that we require them to answer, as you can see they are required fields by that little star. Now they’re to actually get some documents collected. So we’re forcing the people to upload their tax forms, their picture id, their social security number, and we’ll go ahead and upload some information here.
So we’ll do our W two, we’ll do a picture id and then we have a social security card. So we’ll upload all our information here. You can upload more than one. So we’ll just throw it Docubee logo in here just for the demonstration purposes. We can do more than one and they’ll combine ’em later for the customer. So they’ve completed this first form, they’ll hit continue. And one thing I want to point out is that in the beginning I chose in my filing single or am I doing married? And what on is doing now is trying to figure out which route did I choose. If I had chose married, it would’ve taken me to where I fill out all my spouse information right now it took us directly to the dependent information. I don’t have a spouse so I can say I’ve never been married.
And then how many dependents do I want to claim? So here we’re using some conditional logic. If I choose zero, nothing appears. If I choose one, you’ll see a whole block of information appears that I need to fill out all the way up to three. If I had three, all this information I have to fill out. So for this demo, we’ll just do one as you can see already prefilled it with Stuart Stuart Little. Here’s a couple of questions I have to answer here. And again, it’s asking me to upload some documents that are related to my children or my dependents. So I’ll upload a picture of Scooby-Doo. He’s my favorite. So we’ve met all the requirements here and we’ll hit continue, which Nexus is going to take us into all the tax information that the office needs to know before I get there. So I’m just going to quickly roll through some of these because there is a couple pages of them.
But as you can see here, these are all radio buttons, so I can only make one decision based off of them. And there’s also some conditional logic built into some of these. So if I hit yes here, now this box appears asking me another question. So we can do things like that. We can do check boxes where we can make multiple decisions on one question and we can go through here. And the main thing I’m trying to get to is once we get through all these questions, this is the last screen I promise you is that when we’re presented, the customer is going to be presented with the actual client intake form now. And what this is going to do is pre-fill this entire form out with all the data that we captured on those web forms. So you can see all the customer’s information’s put in here, the dependent information, all the questions that they’ve answered here, and only thing the customer has to do left is just simply sign.
So we’ve made it super simple for them. We’ve reduced errors on their part and made it very simple for them. So once they hit continue, what’s going to happen now is that all that information’s getting burned onto this client intake and now the office is getting an email saying, hey, client intake has been submitted, and they’re able to view that document along with all the uploaded documents that were sent out. So the client intake has been submitted, I can view the completed packet in the download and when we view this, we should see all the W twos, the driver’s license, here’s all the stuff I’ve uploaded. So made it super easy for that client, for that tax office to gather information before the client even arrives in the office and expedites things or reduces errors. So that’s workflows in a nutshell. And like I said, this is all customizable to what your process might be, but I’m going to stop there. I kind of ran a little bit long on my time, Ariana, I apologize, but I do want to leave some time for questions, so I’ll get right into that.
Ariana Latour:
Awesome. No, I think you’re perfectly on time, Michael, you did a great job.
Michael Griffith:
Perfect.
Ariana Latour:
So we did cover a lot of ground in a pretty short period of time here. If you guys have any questions that you’d like to ask, go ahead and enter them in the question or the chat panel and we can get started with a couple that came in while you were going through. The first one that I have is does Docubee offer custom branding to show my company’s logo?
Michael Griffith:
Good question. I should have showed that. Do you mind if I back out? I’m going to back out real quick. Go ahead. Yes, it’s super simple in the organization settings. I did jump here, I scrolled down a little bit more. You see organizational branding, you’re able to drop your own logo here. This is for the site, so right here on the top left, it would replace with your logo, you’re able to change the colors to whatever you would like. You see it’s changing this button down here and we also have email branding where our Docubee logo is. We could upload a picture of let’s say Scooby-Doo and Scooby-Doo will now be replaced there. So we can change all of this stuff here based on what your company’s needs are.
Ariana Latour:
Awesome. All right. What are the different ways that you can send someone a workflow
Michael Griffith:
That is by being logged in and running it yourself manually from there, being logged into the platform. Or you can share that the link like I showed or the QR code or you could bulk launch it to them. So there’s a couple of different ways to launch workflows and if you need more help or want to go in more detail, reach out to me after this. I can walk you through that.
Ariana Latour:
Awesome, thank you. Does the person that I send a workflow to need to be an on-task user to complete tasks?
Michael Griffith:
Absolutely not. So that’s one thing we don’t need them to do. As soon as they get that link, they click on it, it’s automatically going to open up in their browser for them in a different tab. They don’t have to put a login and they don’t need to be a part of your organization as simple as you provide where on test needs to send it to. They don’t need to have credentials to do it.
Ariana Latour:
Perfect. All right. Let’s see. If someone doesn’t have a PDF of a form, can they upload screenshots?
Michael Griffith:
Yes. So a lot of those uploads and that’s kind of how those driver’s license, things like that. Most people are doing that from their phone. They’re able to take a picture directly from there and upload that image. Yes. That’s quite common now I feel like.
Ariana Latour:
All right. Let’s see. I have probably time for one more. Do you offer support to get started building processes or do we have to do them on our own?
Michael Griffith:
Yes, we have support. We have packages that include professional service hours to help you. And so those are people from my team. That’s what my team does on customer successes. We want to help you be successful and get these processes up and running so you can either purchase hours to let us help you. You can purchase the self-service plan and add those on as needed as you might need, and they can be used for general onboarding training. We’ll even do consulting for you. We’ll create custom workflows for you. We can configure integrations or help you with advanced document processing. So we’re happy to help you be self-sufficient and build your own workflows. We encourage you to do that yourself. So it’s kind whatever you need. If you need something like that, we’re more than happy to help.
Ariana Latour:
Awesome. Thank you Michael. To go ahead and keep us on time today, I’m going to go ahead and end the question and answer session there, but if we didn’t get a chance to answer your question live, we will have somebody follow up with you after the webinar through the email that you used to register. So keep an eye out for that later. I hope that today’s demo was really helpful and sparked some ideas for you guys on how Docubee can help you digitize your processes. If you’ve seen enough already and are ready to take on task for a spin, you can start your 14 day free trial or purchase any of our self-service plans both directly available on our website on task.io. If you would like to chat with a Docubee specialist about your own unique use case or get a quote on our enterprise plan, there will be a pop-up survey after the webinar where you can give us some feedback and put in a request for a custom demo and one of our team members will reach out to you to get that scheduled. We will also be sending out a recording of today’s webinar via email this week if you’d like to review any part of this or share the session with colleagues. The recording is also going to become available on our website in the resources section under videos. Thank you guys so much for joining us. We hope that you have a great day.
Michael Griffith:
Bye guys.